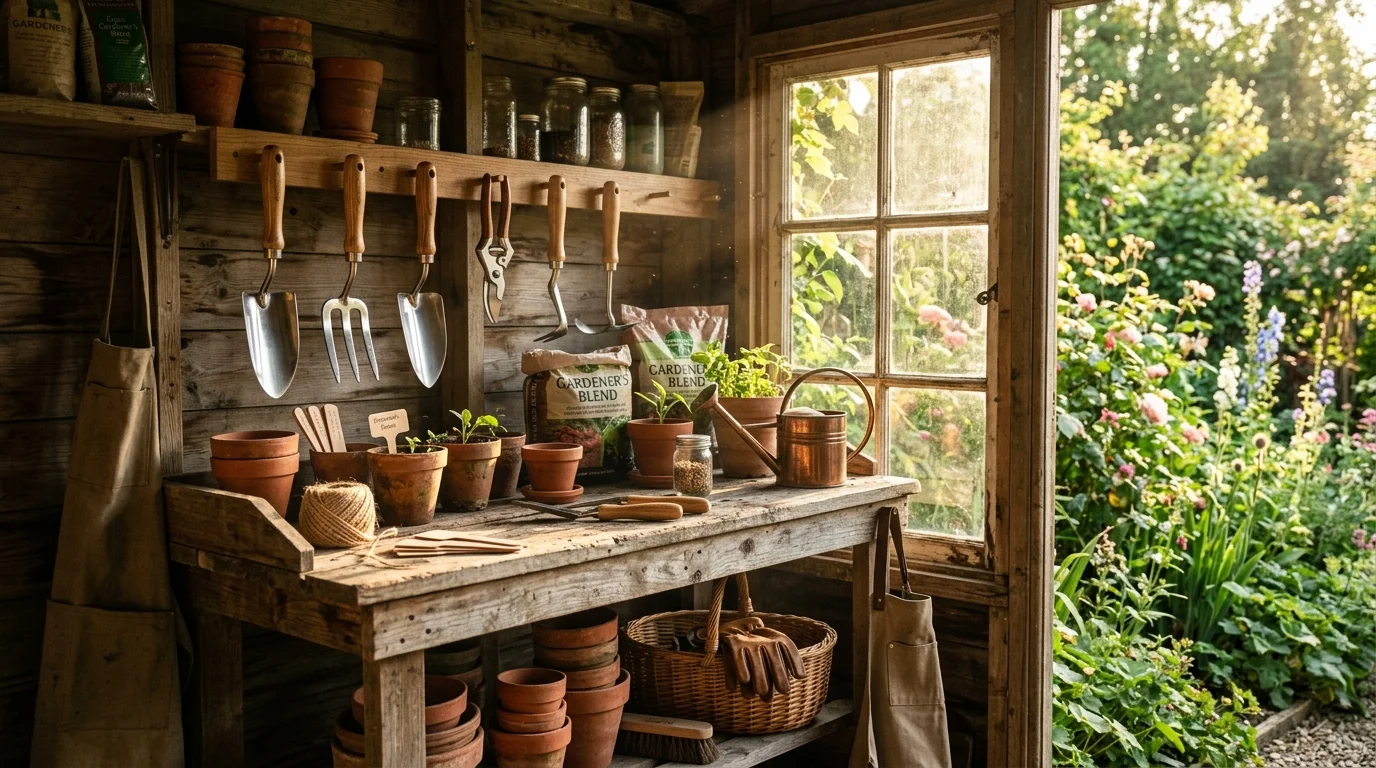
We have all been there: you finish a long day of planting, only to leave your trowel stuck in the mud. Over time, that simple neglect leads to dull blades, stiff hinges, and frustrating rust that makes gardening harder than it needs to be. This guide will show you exactly how do you clean garden tools so they stay in perfect shape for years to come.
Quick Answer: To keep your equipment in top form, you should rinse off soil after every use and store them in a dry, covered area. If you are wondering how do you clean garden tools thoroughly, remember to scrub away debris with soap, disinfect against plant diseases, and apply a light coat of oil to prevent rust.
Keeping Your Gear Tidy with a Proper Tools Organizer
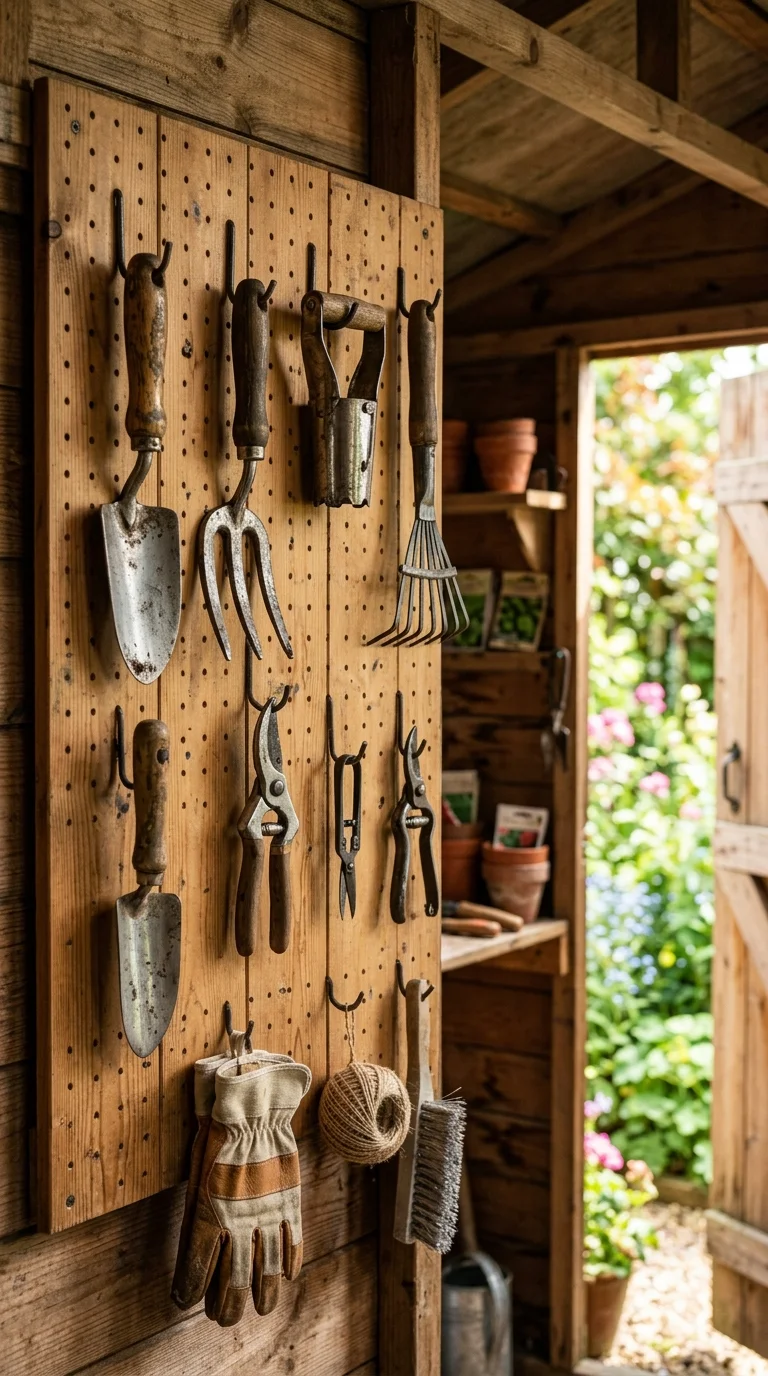
One of the biggest secrets to a long-lasting garden shed is having a dedicated space for everything. When your equipment is tossed in a messy pile on the floor, it stays damp and picks up unnecessary dirt. A good tools organizer helps you keep items off the ground, which is the best way to fight off moisture and decay.
Think of your garden shed like a kitchen. You wouldn’t leave your favorite cooking knives on a wet floor, and you shouldn’t do that with your shovels either. Many gardeners find that installing a simple pegboard or a wall-mounted rack makes a world of difference. It keeps your handles from warping and ensures your blades aren’t resting against cold, damp concrete.
If you have a lot of small hand tools, try using a bucket filled with sand mixed with a little oil. This is a classic “tools organizer” trick that keeps your hand trowels clean and lubricated at the same time. You simply plunge the metal end into the sand, and it stays protected until you need it again.
For larger items like rakes and hoes, look for hooks that allow you to hang them upside down. When you hang tools, you keep the weight off the blades, which helps them stay sharp for much longer. It also makes your workspace feel much more organized and welcoming when you head out for a morning of weeding.
Many gardeners also enjoy using vertical wall storage or even repurposed wooden pallets to keep their gear upright. The goal is to maximize airflow around your tools. If your tools can “breathe” in a well-ventilated shed, they are far less likely to develop that dreaded orange rust that ruins metal surfaces.
Remember, a clutter-free space is a safe space. When your tools have a specific home, you are much more likely to put them away properly after a long day. It’s a small habit, but it prevents the “out of sight, out of mind” problem that leads to neglected, rusty gear.
Using Linseed Oil on Wood to Preserve Handles
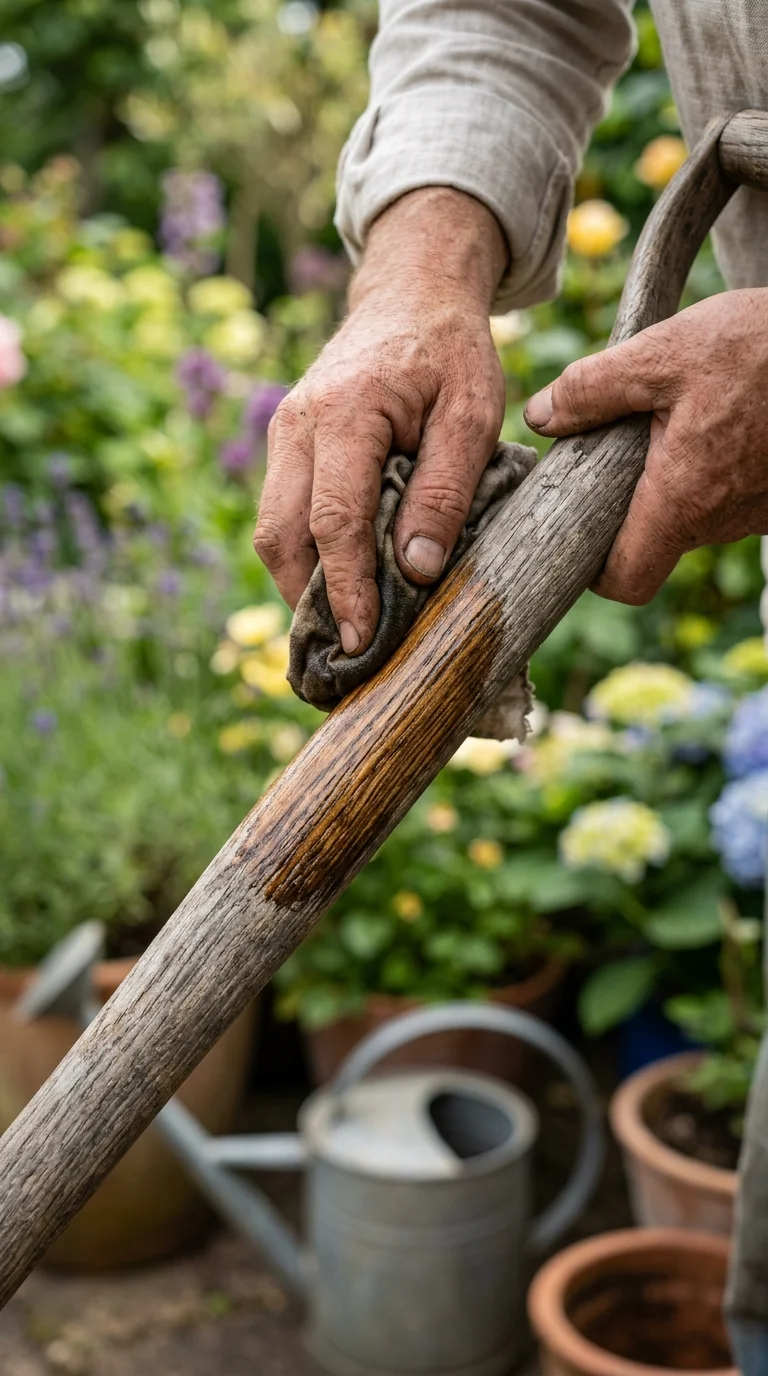
Wooden handles are beautiful and comfortable to hold, but they are natural materials that can dry out. If you leave a wooden handle exposed to the sun and rain without care, it will eventually crack, splinter, or even rot. Using linseed oil on wood is a tried-and-true method that many gardeners swear by to keep their tools feeling smooth and strong.
Boiled linseed oil is a natural product that soaks into the wood fibers and hardens. It creates a protective layer that repels water and prevents the handle from getting too brittle. You should aim to treat your wooden handles at least once or twice a year, perhaps when you are doing your seasonal cleaning.
To apply it, start by lightly sanding any rough patches on the handle with medium-grit sandpaper. This opens up the wood grain and removes any old, splintered bits that might hurt your hands. Once the handle is smooth, wipe away the dust with a dry cloth.
Pour a small amount of linseed oil onto a rag and rub it into the wood in the direction of the grain. You don’t need to drown the wood; just a nice, even coating is enough. Let it sit for about 15 to 20 minutes so it has time to soak deep into the handle.
After the oil has soaked in, take a clean, dry cloth and wipe off any extra oil that hasn’t been absorbed. If you leave too much oil on the surface, it can become sticky and attract dust, which isn’t what you want. The wood should feel nourished and slightly matte, not greasy.
One very important safety tip: always be careful with your oily rags! Linseed oil can generate heat as it dries, and in some cases, used rags can pose a fire risk if they are bunched up. Always lay your rags out flat to dry in a safe, open area, or soak them in water before disposing of them in a metal can.
The Simple Art of Oiling Garden Tools for Longevity
Oiling garden tools is perhaps the single most effective way to keep them working smoothly. When you oil the metal parts, you create a barrier that stops oxygen from touching the steel. Since rust is essentially a chemical reaction between iron and oxygen, that thin layer of oil acts like a shield.
Here is a step-by-step guide to keeping your metal tools in great shape:
- Clean first: Never oil a dirty tool. Scrub off any caked-on mud or sap using a stiff brush and warm, soapy water.
- Dry thoroughly: Moisture is the enemy. Use a dry rag to wipe your tool down completely before applying any oil.
- Apply a light coat: Use a clean cloth to apply a thin layer of boiled linseed oil or a food-safe mineral oil to the metal surface.
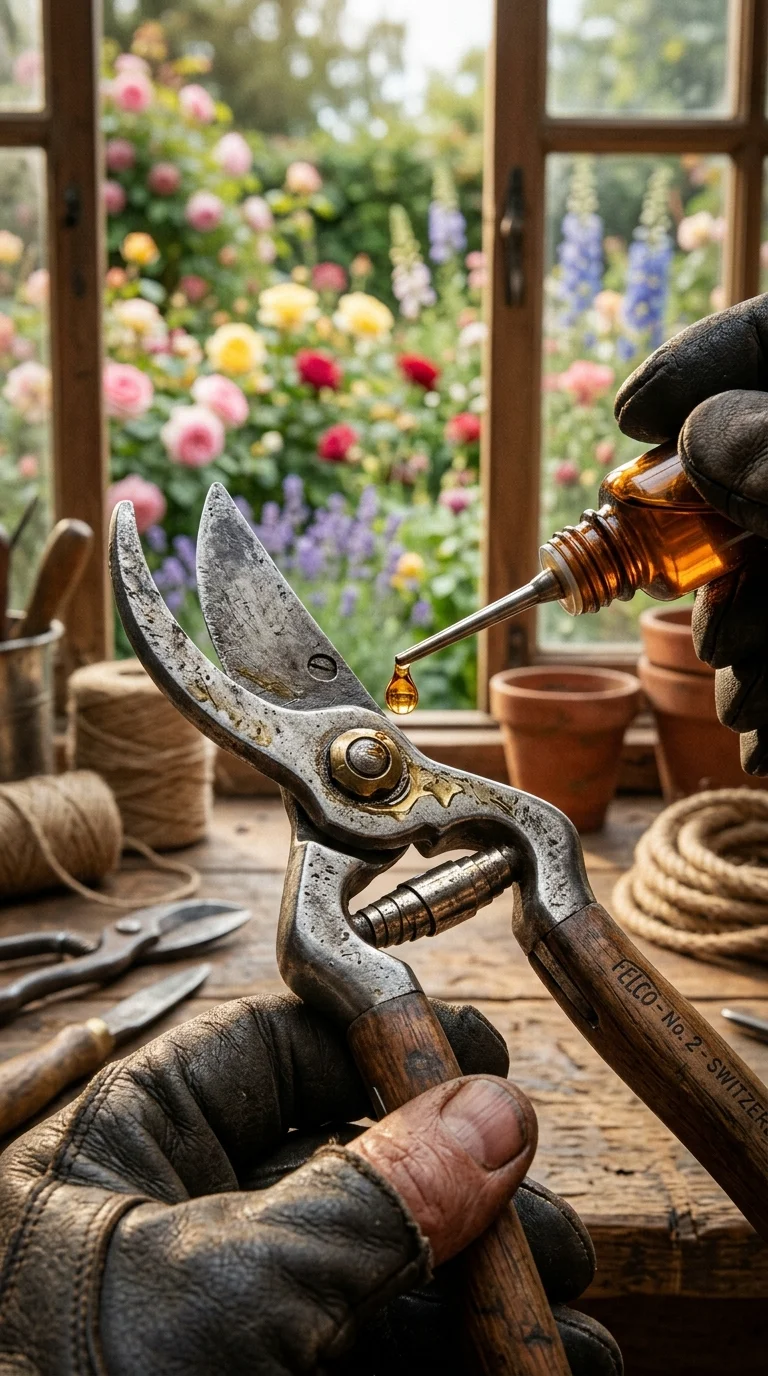
- Focus on hinges: For tools like pruners or loppers, put a drop of oil directly into the pivot point. Work the tool back and forth to make sure the oil gets deep inside the hinge.
- Wipe away excess: Just like with wooden handles, you want to remove any extra oil so it doesn’t attract dirt or drip onto your plants.
- Let it set: Give your tools a few hours to “cure” or dry before you put them back in your shed.
Many gardeners find that keeping a small container of oiled sand in their shed is the easiest way to maintain their trowels. You can simply push your spade or trowel into the sand after each use. The sand acts as a gentle abrasive to scrub off tiny bits of dirt, while the oil keeps the metal conditioned and ready for your next project.
Avoid using old motor oil for this purpose. While some people suggest it, motor oil contains chemicals that you really don’t want to introduce into your garden soil. Stick to plant-based oils or mineral oils that are safe for your garden ecosystem.
If you find that your tools are feeling “sticky” due to sap from trees or shrubs, use a little bit of mineral spirits on a cloth to wipe the blades clean. Once the sap is gone, wash the blade with soap and water, dry it, and then re-apply your protective oil.
Dealing with Rusty Garden Tools the Easy Way
Finding rusty garden tools in the back of the shed is a common frustration, but it doesn’t mean your favorite shovel is ruined. In most cases, surface rust can be scrubbed away with a little bit of patience. You don’t need expensive chemicals to get your gear back into working order.
If you notice light rust, try soaking the metal parts in a solution of equal parts white vinegar and water. Let the tool sit in this mixture overnight. The acid in the vinegar helps break down the rust, making it much easier to remove the next morning.
After the soak, take a piece of steel wool or a stiff wire brush and scrub the rusted area in a circular motion. You will see the rust start to flake off, revealing the clean metal underneath. It might take a little elbow grease, but it is very satisfying to see your tool shine again.
Once you have scrubbed off the rust, rinse the tool thoroughly with soapy water to neutralize the acid from the vinegar. Dry it immediately with a soft cloth. Do not let it air dry, as the dampness can cause flash rust to form almost instantly.
After drying, immediately apply a light coat of oil to the metal surface. This seals the pores of the metal and prevents new rust from forming. If you keep up with this routine, you will find that your tools stay in great condition for many seasons.
If the rust is deep or the metal is pitted, you might need to use a slightly coarser sandpaper or a metal file to smooth out the surface. However, if the tool is severely damaged or the handle is loose, it might be safer to replace it. Never use a tool that feels wobbly or unsafe, as it could break while you are working in the garden.
Frequently Asked Questions
Q: How often should I clean my garden tools?
A: It is a great habit to give your tools a quick rinse and wipe-down after every use. A deep cleaning, including sanitizing and oiling, is best done at the end of the season before you store them for winter.
Q: Can I use vegetable oil instead of linseed oil?
A: You can use vegetable oil for short-term storage, but it tends to go rancid or sticky over time. Boiled linseed oil or mineral oil generally provides a much better, longer-lasting protective coating for your metal and wood.
Q: What should I do if my pruning shears are stiff?
A: Stiff shears usually just need a good cleaning and a drop of oil in the pivot point. If they are still tight after cleaning and oiling, check to see if the nut needs a slight adjustment or if there is debris stuck inside the hinge.
Q: Is it okay to use bleach to disinfect my tools?
A: Yes, a diluted bleach solution (about two cups of bleach per gallon of water) is very effective at killing plant diseases. Just be sure to rinse the tools well with fresh water afterward to prevent the bleach from causing rust.
Q: Should I sharpen my tools every time I use them?
A: You don’t need to sharpen them every time, but a quick touch-up with a sharpening file or stone every few weeks keeps the blades efficient. Keeping your tools sharp actually makes your gardening work much easier on both you and your plants!
Q: How do I know when a wooden handle needs replacing?
A: If the handle has deep cracks, feels loose where it meets the tool head, or has large splinters that you can’t sand away, it is likely time for a replacement. Always prioritize your safety; a broken handle can lead to unexpected accidents in the garden.