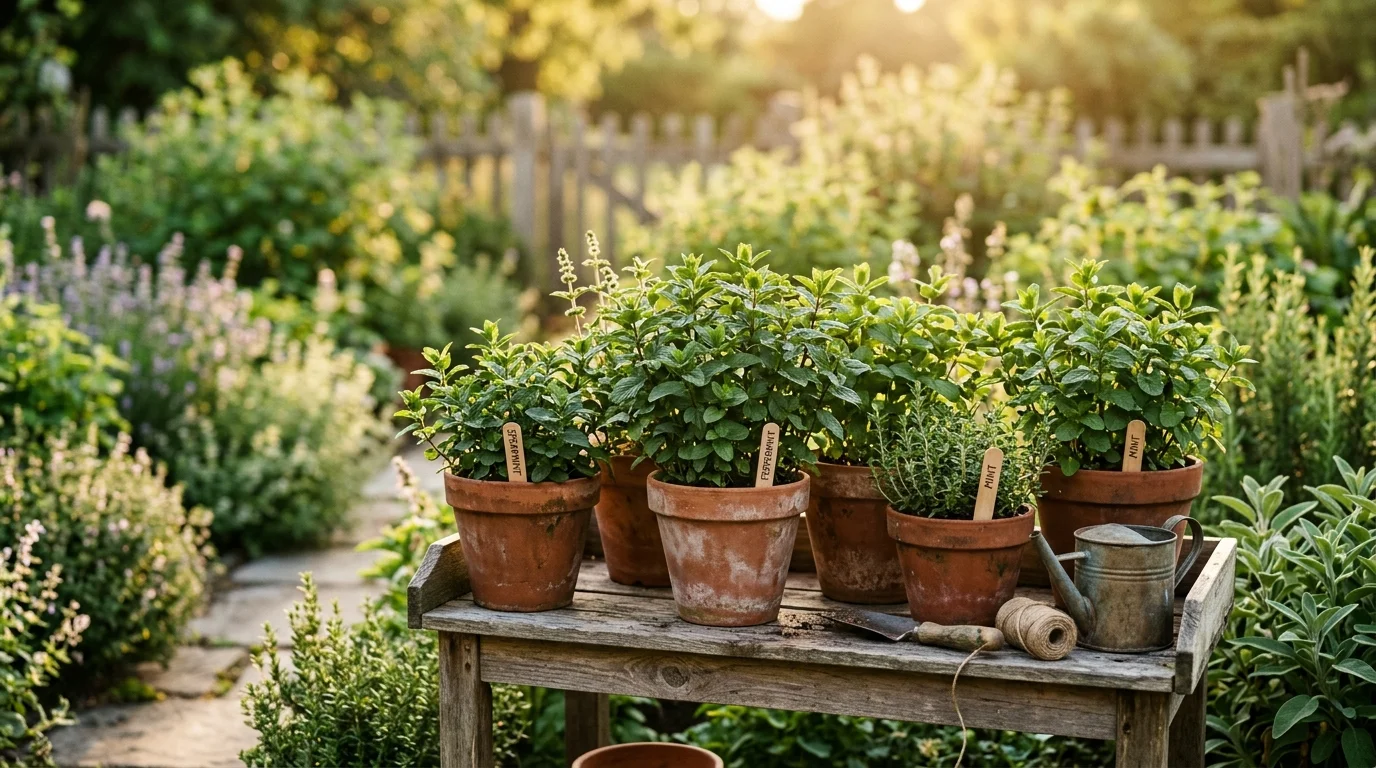
If you love the refreshing scent of fresh mint in your tea or salads, you are not alone. Many gardeners find that while mint is a joy to grow, it quickly becomes a runaway “thug” that takes over the entire garden bed if left unchecked. This guide will teach you exactly how to grow mint without spreading, ensuring you keep your garden tidy while enjoying a bountiful harvest.
Quick Answer: The best way to control mint is to grow it in containers rather than directly in the ground. By keeping the plant in a pot, you prevent its aggressive roots, known as rhizomes, from traveling across your garden and choking out your other favorite flowers or vegetables.
The Best Way to Grow Mint for Beginners
When you are first starting your herb garden, mint is often the first plant people recommend. It is incredibly hardy, forgiving of minor mistakes, and grows with such vigor that it feels like a gardening victory every single day. However, that vigor is exactly why you need a plan. The “best way to grow mint” is to treat it as a container-only plant unless you have a very specific, isolated area where you don’t mind it taking over.
Mint spreads using specialized horizontal stems called rhizomes. These are essentially underground runners that creep along the surface and under the soil, popping up new shoots wherever they find a bit of space. In the wild, this is a brilliant survival strategy, but in your neatly organized backyard, it can be a nightmare to manage. By choosing to grow your mint in a container, you effectively “fence in” these roaming roots.
Many gardeners find that choosing the right pot makes all the difference. Plastic pots are fantastic because they hold moisture well and don’t dry out as quickly as porous materials. If you prefer the classic look of terra cotta, you can still use it! Just line the inside with a plastic bag or a dedicated pot liner before adding your soil. This prevents the moisture from wicking out through the clay walls, keeping your mint happy and hydrated.
When you are ready to plant, pick a high-quality, fertile potting mix. Mint isn’t particularly fussy, but it loves a soil that stays consistently moist. Unlike some herbs like lavender or thyme that prefer to dry out between waterings, mint is a thirsty plant. It thrives in a mix that retains water without becoming soggy or swampy. If you notice your mint looks a bit sad, it is often just asking for a drink!
Sunlight is another important factor in the best way to grow mint. While it can tolerate part-shade—which is great if you have a tricky, dim corner in your yard—it generally produces the most flavorful, oil-rich leaves when given a good dose of sunshine. If you live in a very hot climate, however, a bit of afternoon shade can be a lifesaver. It keeps the leaves from wilting under the intense heat and prevents the soil from drying out too fast.
Don’t worry about the size of the plant when you start. Mint is a fast grower, and it will fill whatever space you give it. You don’t need to move it into larger and larger pots gradually like some house plants. Instead, feel free to give it a generous home from the start. If you ever feel like the plant is getting too crowded or lanky, don’t be afraid to give it a haircut. Trimming back the stems actually encourages the plant to grow bushier and more productive.
Caring for Mint in Pots for Maximum Yield
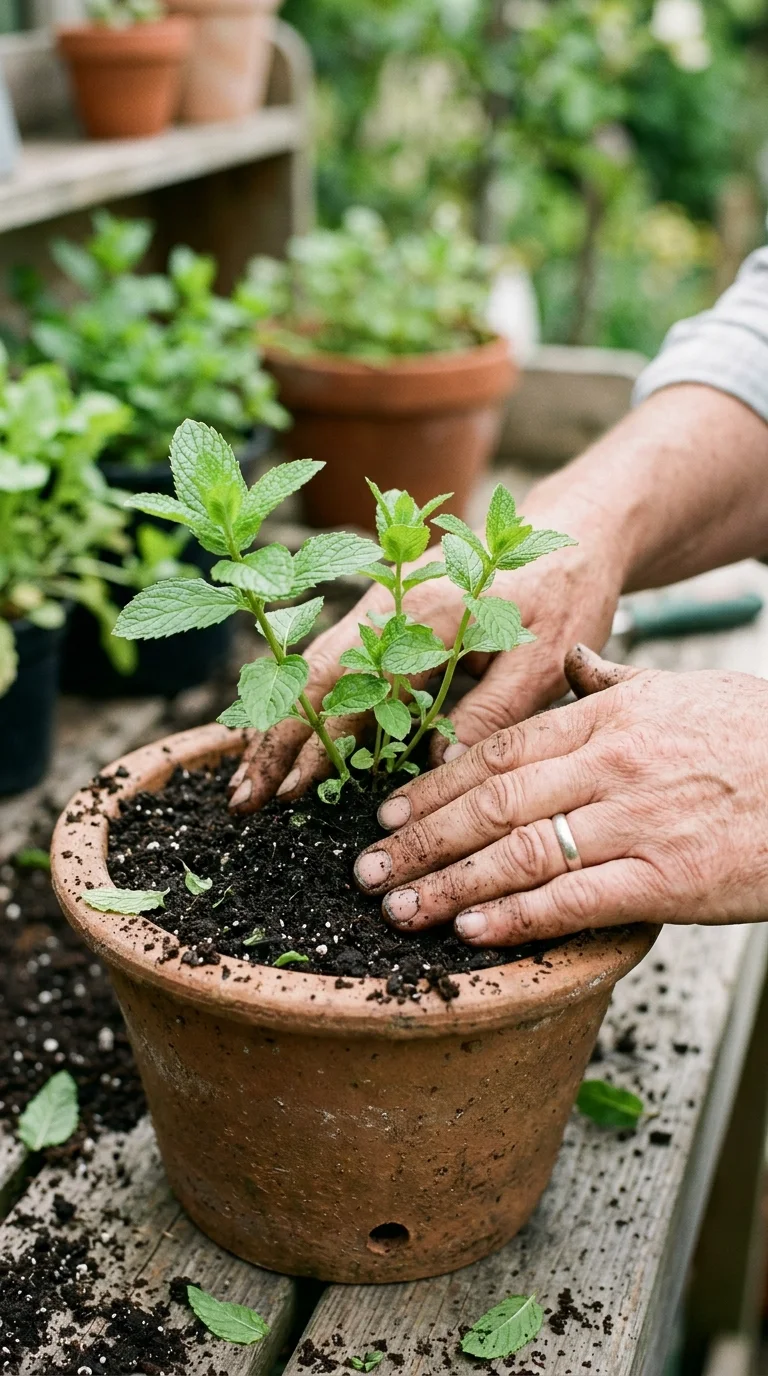
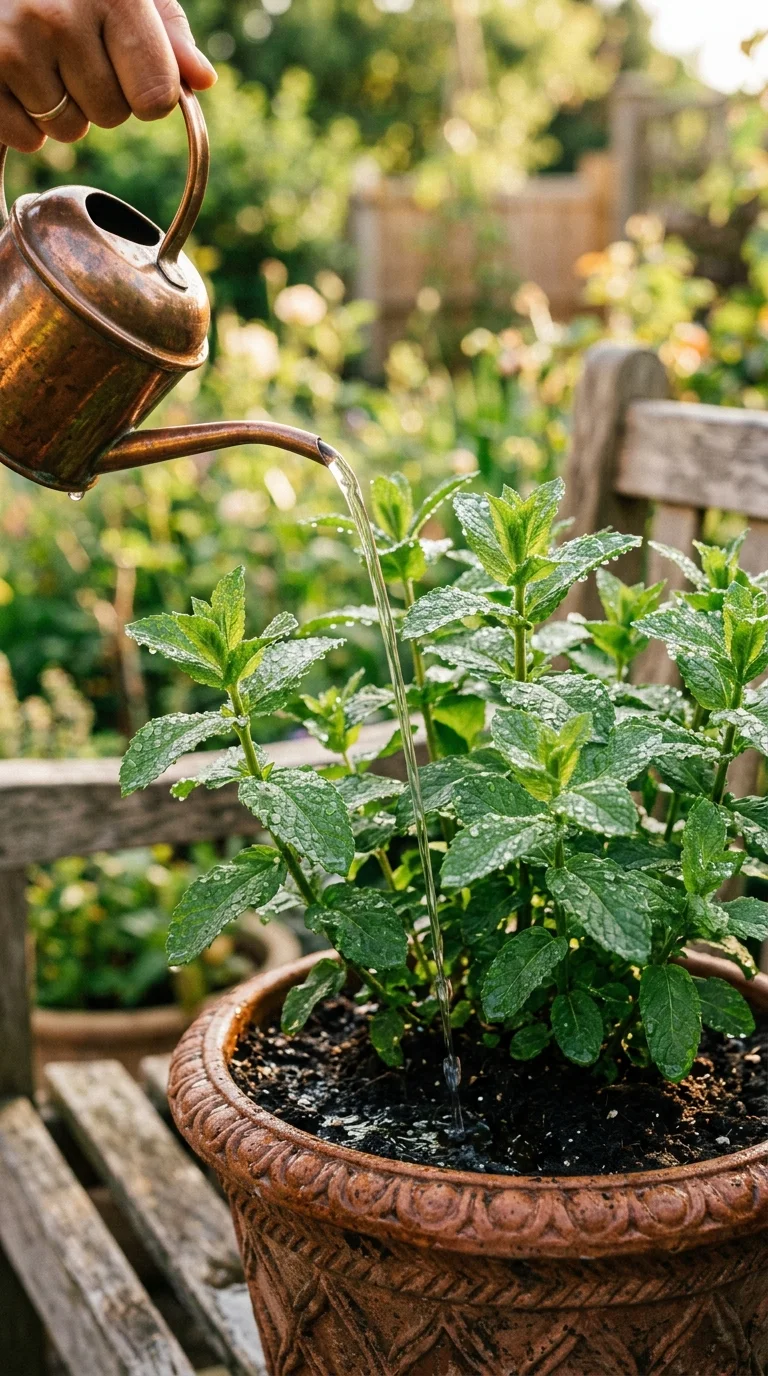
Once you have your mint settled into its container, “caring for mint in pots” becomes a relaxing, rewarding routine. Because container-grown mint is separated from the earth’s natural water table, it relies entirely on you for its hydration. During the heat of the summer, you might find yourself watering your mint every single day. Always check the top inch of soil with your finger; if it feels dry, give it a good soak until water runs out of the drainage holes.
Feeding your mint is another part of the care process that pays off in big, flavorful leaves. While you don’t need to overdo it, a little bit of organic granular fertilizer added in early spring can give the plant a nice boost as it wakes up from its winter sleep. Gently scratch the fertilizer into the top layer of the soil and water it in well. This helps the nutrients reach the roots without burning the leaves.
Pruning is essential for keeping your container mint healthy. If you notice the stems getting long, leggy, or woody, it is time to trim them back. Use clean, sharp garden shears to snip the stems just above a set of leaves. This simple action forces the plant to send out two new stems from the point where you cut, effectively doubling your harvest and creating a much fuller, more attractive plant.
You should also keep an eye out for any roots trying to escape through the drainage holes. If you see roots poking out the bottom, it is a sign that your mint is getting a bit root-bound. This is the perfect time to either move it to a larger container or divide the plant. Dividing is a natural part of caring for mint in pots, and it helps “refresh” the plant by giving the roots new soil and space to expand.
In most cases, mint is a perennial, meaning it will come back year after year. However, in very cold climates, the top growth will die back during the winter. Don’t throw the pot away! The roots are often still alive under the soil. Simply move the pot to a sheltered spot, keep it slightly moist, and wait for the first signs of green in the spring. It is a wonderful feeling to see that first tiny leaf emerge after a long winter.
Finally, remember that airflow is your friend. Because mint grows so densely, it can sometimes become a target for pests or powdery mildew if the leaves stay too wet or crowded. By thinning out the stems occasionally, you allow air to circulate through the plant. This keeps the leaves dry and healthy, ensuring you have a steady supply of fresh, clean mint for your kitchen throughout the entire growing season.
Expert Tips for Harvesting Mint Leaves
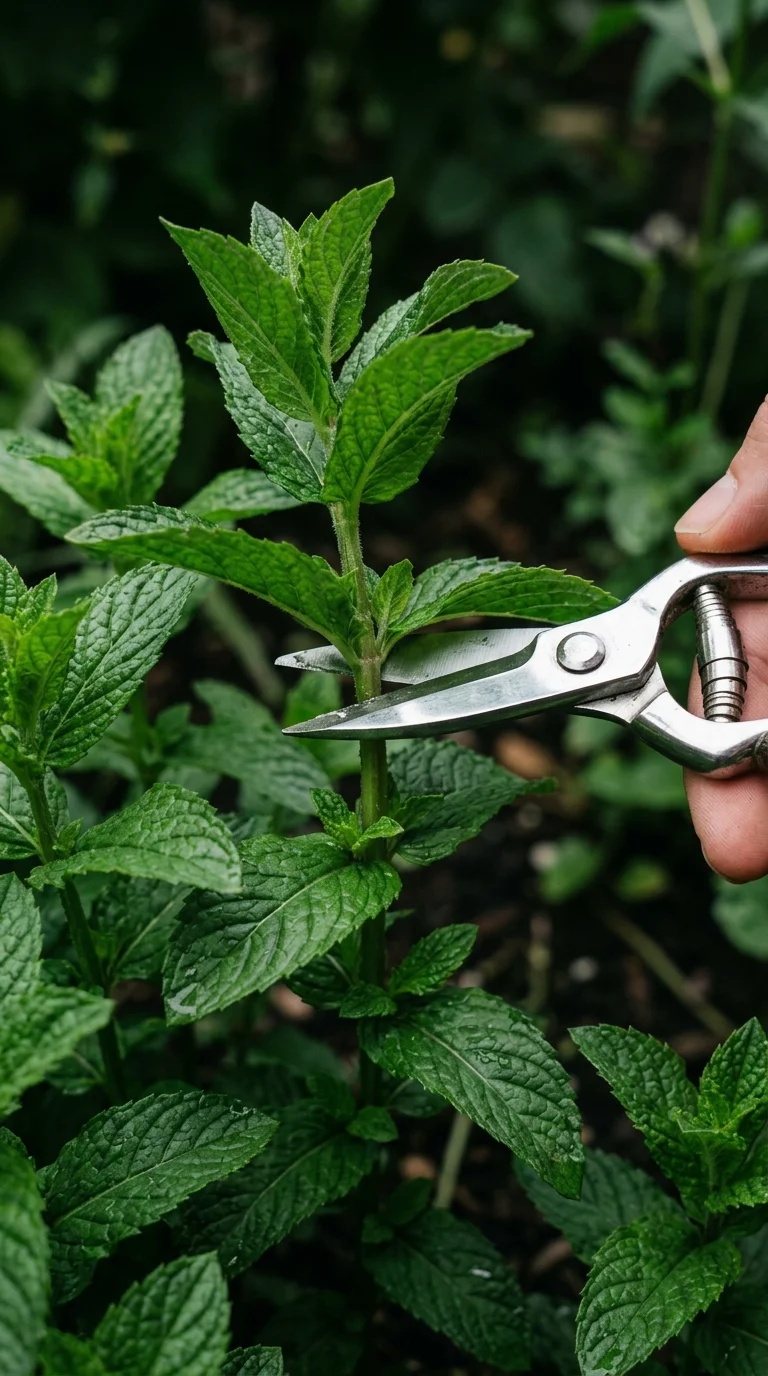
“Harvesting mint leaves” is one of the most satisfying parts of being a gardener. There is nothing quite like the smell of fresh mint on your fingers after a quick harvest. To get the best flavor, try to harvest your mint in the mid-morning. By this time, the dew has evaporated from the leaves, but the sun hasn’t yet baked away the fragrant oils that give mint its signature zing.
Follow these simple steps to ensure you harvest effectively without hurting the plant:
- Choose your stems: Look for the most vibrant, green stems. Avoid any that look yellow, damaged, or have brown spots.
- Use sharp scissors: Always use clean, sharp garden shears or scissors. This makes a clean cut that heals quickly, preventing disease from entering the stem.
- Cut above a node: Locate a “node,” which is the point on the stem where the leaves sprout. Cut about a quarter-inch above this node. The plant will naturally produce new growth from this spot.
- Harvest regularly: Don’t be shy! Regular harvesting is actually good for the plant. It prevents the stems from becoming long and woody, which can happen if you let the plant get too old.
- Wash and store: Once you have your harvest, give the leaves a gentle rinse in cool water. If you aren’t using them immediately, you can place the stems in a jar of water like a bouquet of flowers. They will stay fresh for several days on your kitchen counter.
If you have a massive harvest and don’t know what to do with it all, don’t worry. You can easily dry the leaves by hanging them in small bundles in a dark, airy place. Once they are crispy, crumble them into a jar for winter tea. You can also freeze mint leaves in ice cube trays with a little water; these are perfect for dropping into summer drinks or cocktails.
Many gardeners find that they get a much better harvest if they rotate their picking. Instead of taking all the leaves from one side of the plant, move around the pot. This keeps the plant balanced and ensures that no single side becomes exhausted. If you notice the plant is flowering, you can pinch off the flower buds. While the flowers are pretty and loved by bees, they can sometimes make the leaves taste a bit less potent.
If you ever find your mint has become too large for its pot, harvesting is the perfect time to do some “maintenance pruning.” Take off the older, tougher stems at the base and use the newer, tender growth for your cooking. This keeps the plant in its prime and ensures that every leaf you pick is as flavorful as possible. Remember, the more you harvest, the more the plant will grow!
Creative Uses for Fresh Mint in Your Home
Once you have mastered the art of growing and harvesting, you might find yourself with an abundance of herbs. The “uses for fresh mint” are truly endless, extending far beyond the typical mojito or cup of tea. Because mint is so aromatic, it is a wonderful addition to both savory and sweet dishes. It adds a bright, cooling note that can balance out rich or spicy flavors perfectly.
In the kitchen, mint is a staple for Mediterranean and Middle Eastern cooking. Try chopping it finely and mixing it into a bowl of Greek yogurt with some cucumber and garlic for a classic tzatziki sauce. It is also excellent in salads, especially those featuring watermelon, feta cheese, or tomatoes. The sweetness of the mint pairs surprisingly well with the saltiness of the cheese and the freshness of the fruit.
For a sweet treat, mint is the perfect partner for chocolate. Many gardeners find that adding a few finely chopped leaves to a brownie batter or a chocolate mousse takes the dessert to a whole new level. You can also infuse sugar with fresh mint leaves by layering them in a jar of granulated sugar for a few days. The sugar will take on a delicate minty scent, which is wonderful for baking or sweetening your morning tea.
Beyond the kitchen, mint has some lovely uses around the house. Because it is so fragrant, it makes a great addition to homemade bath soaks. Simply steep a handful of fresh mint in a bowl of hot water and add it to your bath for a refreshing, spa-like experience. Some people also enjoy using mint in homemade facial toners or scrubs, as the cooling sensation can feel very soothing on the skin.
A common mistake beginners make is thinking that all mint tastes the same. There is a whole world of varieties out there! You might try growing chocolate mint, which has a distinct cocoa-like aroma, or apple mint, which is much softer and fruitier. There is even pineapple mint and lime mint. Experimenting with these different types can make your herb garden feel like a gourmet pantry.
If you have pets or children, you might be happy to know that mint is generally very safe and easy to handle. It is a wonderful “starter plant” for kids who want to learn about gardening, as it grows quickly and provides immediate rewards. Just be sure to teach them the importance of keeping it in its pot so it doesn’t wander off into the rest of the flower beds!
Finally, don’t forget the power of fresh mint in infused water. During the hot summer months, keeping a pitcher of water in the fridge with a few sprigs of mint and slices of lemon is a game-changer. It is a healthy, refreshing alternative to sugary sodas and is a great way to use up those extra leaves from your garden. It is a small, simple pleasure that makes gardening feel worth every bit of effort.
Frequently Asked Questions
Q: Can I grow mint in the ground if I put a barrier around it?
A: Yes, many gardeners successfully use deep plastic barriers or bottomless buckets buried in the ground to contain the roots. Just be aware that mint is very persistent, and it might eventually find a way to jump over or under the barrier, so keep a close eye on it!
Q: What should I do if my mint starts to look yellow and sad?
A: Yellowing leaves often mean the plant is either getting too much water or not enough nutrients. Check that your pot has good drainage, and consider adding a little bit of organic fertilizer to give it a boost.
Q: Does mint really have to be in a pot, or is that just a suggestion?
A: While you don’t have to use a pot, it is highly recommended unless you want a large patch of only mint. In the ground, it is an aggressive grower that will likely take over your entire garden space within a season or two.
Q: Can I grow mint indoors on a windowsill?
A: You certainly can! Mint does well indoors as long as it gets plenty of bright, indirect light. Just make sure the pot has good drainage and don’t let the soil dry out completely between waterings.
Q: Why is my mint flowering, and should I cut the flowers off?
A: Flowering is a natural part of the plant’s life cycle, but it can sometimes make the leaves taste a bit less intense. If you want the best flavor for your cooking, it is generally best to pinch off the flower buds as soon as you see them.
Q: How do I know if I have the right kind of mint for my recipes?
A: Most mint varieties are interchangeable in cooking, though some have subtle flavor differences. Peppermint and spearmint are the most common for drinks and desserts, but you should feel free to experiment with any variety that smells good to you!