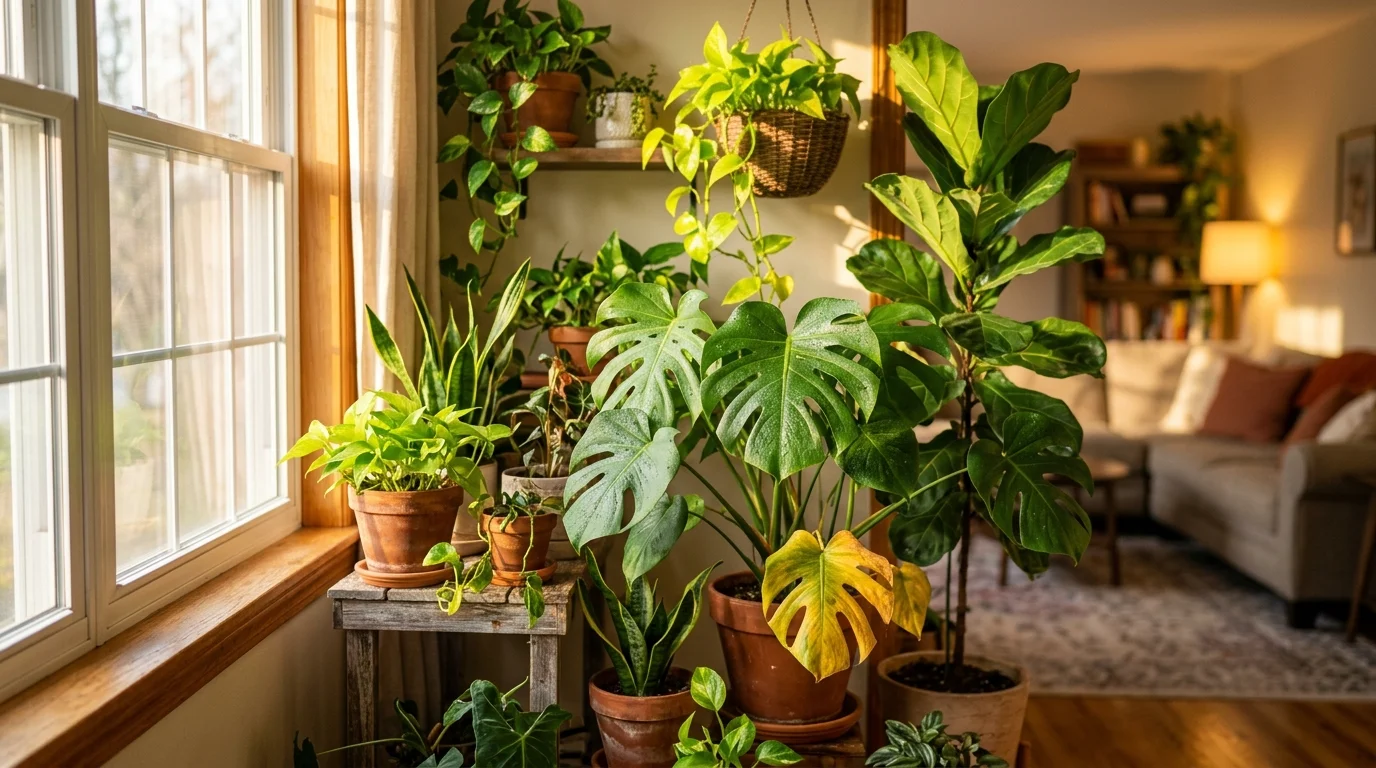
Do you ever look at your leafy friends and feel a sudden wave of worry when a leaf turns yellow? It is so easy to feel overwhelmed when you notice dry tips, dropping leaves, or mystery bugs on your green companions. This friendly guide will help you understand these common plant problems so you can bring joy back to your growing space.
Quick Answer: Most plant problems come down to simple issues with water, light, or tiny pests that are easy to manage. By checking the soil moisture, adjusting your light source, and keeping a close eye on leaf changes, you can quickly get your green friends back on track.
Simple Secrets of Houseplant Care for Healthy Green Friends
Starting your journey with plants is such an exciting adventure. When you bring a new plant home, it is like welcoming a new pet into your family. You want to give it the very best life possible, but sometimes it is hard to know what it needs. That is where basic houseplant care comes into play to help you succeed.
Many new gardeners think that plants only need a splash of water now and then. In reality, our green friends need a balance of light, air, water, and food. When one of these things is off, your plant will start to show signs of stress. Learning to read these signs is the secret to becoming a great plant parent.
+-------------------------------------------------------------+
|                     THE THREE PILLARS OF CARE               |
+-------------------------------------------------------------+
|  1. LIGHT:   Is it too bright, too dark, or just right?     |
|  2. WATER:   Are the roots drowning or gasping for a drink? |
|  3. AIR:     Is the room too dry, too cold, or drafty?      |
+-------------------------------------------------------------+
Let us start by talking about the soil, which is the foundation of your plant’s home. In most cases, regular dirt from your backyard is too heavy for indoor pots. Outdoor soil packs down tightly, which squeezes the roots and stops them from breathing. Indoor plants need a light, fluffy potting mix that lets water drain away quickly.
When you water your plant, the water should run right through the soil and out the bottom. If water sits in the bottom of the pot, the roots can actually drown. Roots need air just as much as they need water to stay strong and healthy. That is why using pots with drainage holes is one of the most important rules.
Many gardeners find that terracotta pots, which are made of porous clay, are wonderful for beginners. These clay pots allow extra moisture to escape through the walls of the pot. This helps protect your plants if you happen to get a little too happy with the watering can. Plastic pots hold moisture longer, which is great for plants that love constant moisture.
Another key part of daily care is understanding how light works in your home. Just because a room feels bright to your eyes does not mean it is bright enough for a plant. Light drops off very quickly the further you move away from a window. A plant sitting ten feet away from a window gets only a fraction of the light it would get on the sill.
You also want to think about the direction your windows face. Windows that face south or west usually get very bright, warm sunlight. East-facing windows get lovely, cool morning sun that is gentle on delicate leaves. North-facing windows get low, soft light all day, which is perfect for low-light lovers.
As the seasons change, the light in your home will change too. In the winter, the sun sits lower in the sky, and the days are much shorter. Your plants will grow much slower during these dark, cold months. Because they are resting, they will not need nearly as much water as they do in the summer.
Wiping the dust off your plant’s leaves is another simple task that makes a big difference. Dust blocks sunlight from reaching the leaf, which makes it harder for the plant to make food. A gentle wipe with a damp cloth once a month keeps the leaves clean and shiny. It also gives you a wonderful chance to look closely for any hidden pests.
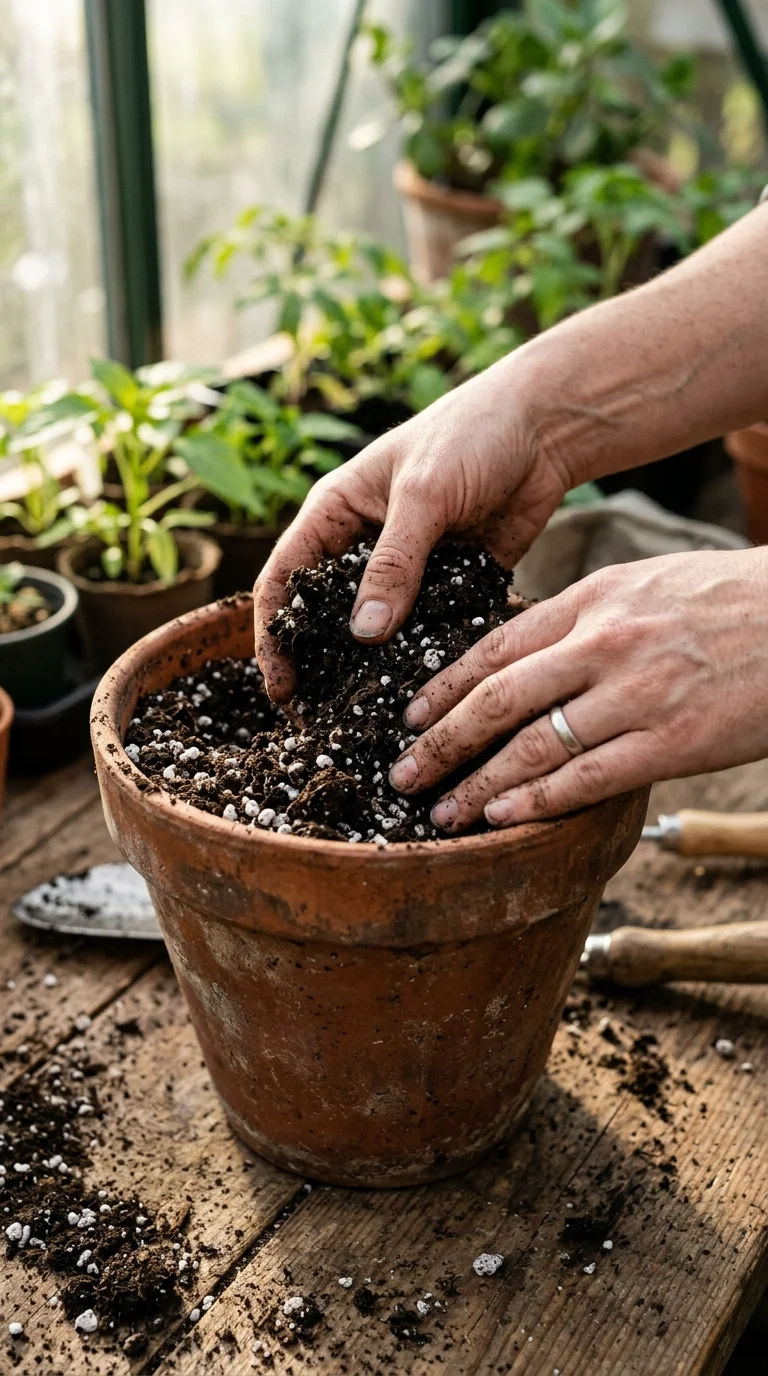
Step-by-Step Ways to Fix Dying Plants and Restore Their Beauty
It can be heartbreaking to watch a favorite plant slowly lose its leaves and look like it is giving up. But do not panic just yet, because you can often fix dying plants with a little patience and love. Before you throw a sad plant away, let us do a quick inspection to see if we can save it. Plants are incredibly tough, and many of them have a strong will to survive.
First, you want to perform the “scratch test” on the main stem. Use your fingernail to gently scratch a tiny bit of the outer bark on the stem. If you see green underneath, congratulations! Your plant is still alive and has a great chance to recover. If the stem is brown, dry, and snaps easily like a dead twig, that part of the plant may be gone.
How to Diagnose a Struggling Plant:
1. Yellow leaves at the bottom? -> Usually too much water.
2. Crispy, brown tips on leaves? -> Usually dry air or tap water minerals.
3. Dropping green, healthy leaves? -> Often shock from a sudden temperature change.
4. Yellow leaves at the very top? -> Sometimes means the soil is too dry.
If your plant is suffering from overwatering, the roots may be rotting in wet soil. Take the plant out of its pot and look at the roots. Healthy roots are usually white or light tan, firm, and smell like fresh earth. Rotten roots look black or dark brown, feel mushy, and have a sour, unpleasant smell.
To save an overwatered plant, trim away any mushy roots with clean scissors. Repot the plant into fresh, dry soil and a clean pot with good drainage. Hold off on watering for a few days to let the remaining roots heal and breathe. Place the plant in a spot with bright, indirect light to help it recover slowly.
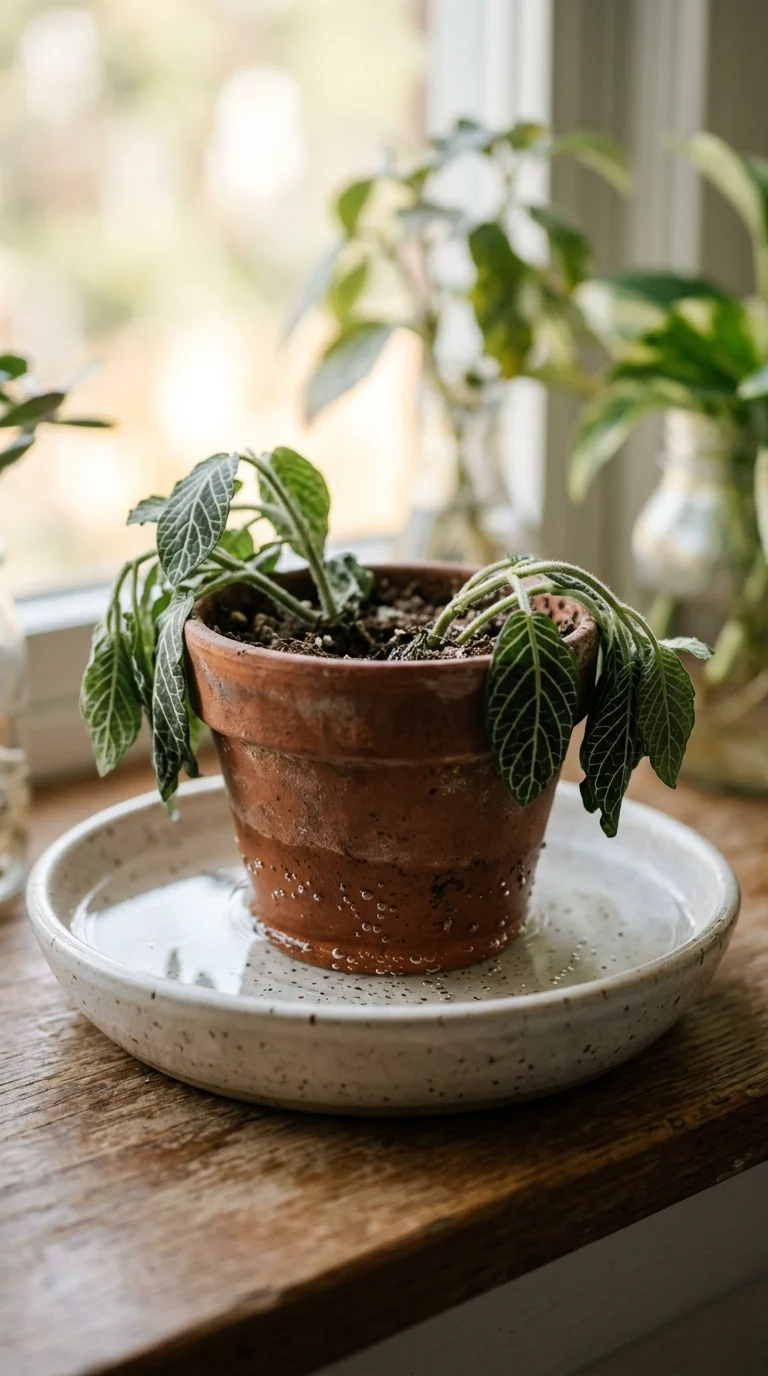
If your plant is dry and drooping because you forgot to water it, the soil might have shrunk. When peat-based soil gets very dry, it pulls away from the sides of the pot. When you pour water on it, the water just runs down the sides without wetting the roots. In this case, you need to use the “bottom watering” method to rehydrate the soil.
Fill a sink or a large bucket with a few inches of lukewarm water. Place your dry plant pot directly into the water and let it sit for about thirty minutes. The soil will slowly suck up the water from the bottom like a sponge. Once the top of the soil feels damp, take the pot out and let the extra water drain away completely.
Sometimes, plants look sad because they have outgrown their pots. If you see roots growing out of the bottom drainage holes, your plant is “root-bound.” This means there are more roots than soil, and the plant cannot get enough water or food. Gently move the plant to a pot that is one size larger, filling the extra space with fresh soil.
It is also important to avoid fertilizing a sick or stressed plant. Many well-meaning gardeners think fertilizer is like medicine for a dying plant. In reality, fertilizer can burn weak roots and make the problem much worse. Only feed your plants when they are healthy and actively growing new leaves.
Your Easy Daily Routine for Successful Indoor Plant Care
Creating a simple routine is the easiest way to keep your green friends happy. Consistent indoor plant care does not have to take up hours of your free time. Just a few minutes a week can prevent most common problems before they start. Let us walk through a simple, step-by-step routine you can use to care for your plants.
Step 1: The Daily Walk-Through
Every morning, take a quick walk through your rooms with your morning coffee or tea. Look at your plants to see if any of them are leaning heavily toward the window. If they are, give the pot a quarter-turn to help them grow straight and even. This quick daily check helps you notice any sudden changes before they become big issues.
Step 2: The Soil Moisture Finger Test
Before you grab your watering can, always check the soil moisture first. Push your index finger about one or two inches deep into the soil. If the soil feels damp and cool, your plant does not need water today. If the soil feels dry and warm all the way down, it is time for a good drink.
Soil Moisture Checklist:
- Wet/Damp: Do not water. Let the soil breathe.
- Dry on top, damp below: Wait a day or two for dry-loving plants.
- Completely dry: Water thoroughly until it runs out the bottom.
Step 3: Water Deeply and Slowly
When you water, do not just give your plant a quick splash on top. Pour water slowly over the entire surface of the soil until it runs out of the bottom holes. This ensures that all the roots get a drink, not just the ones at the top. Always empty the saucer under the pot after fifteen minutes so the plant does not sit in water.
Step 4: Dust and Clean the Leaves
Once a month, take some time to clean the leaves of your plants. You can use a soft, damp microfiber cloth to gently wipe away dust. For plants with lots of tiny leaves, you can give them a gentle shower in the bathroom. Make sure the water is lukewarm, as cold water can shock the plant’s roots.
Step 5: Check for Sneaky Pests
While you are cleaning the leaves, look closely at the undersides and where the leaves meet the stem. Pests love to hide in these warm, dark, and protected crevices. Look for tiny webs, white cottony spots, or sticky drops on the leaves. Finding these pests early makes them much easier to treat and get rid of.
Step 6: Prune Away Dead Foliage
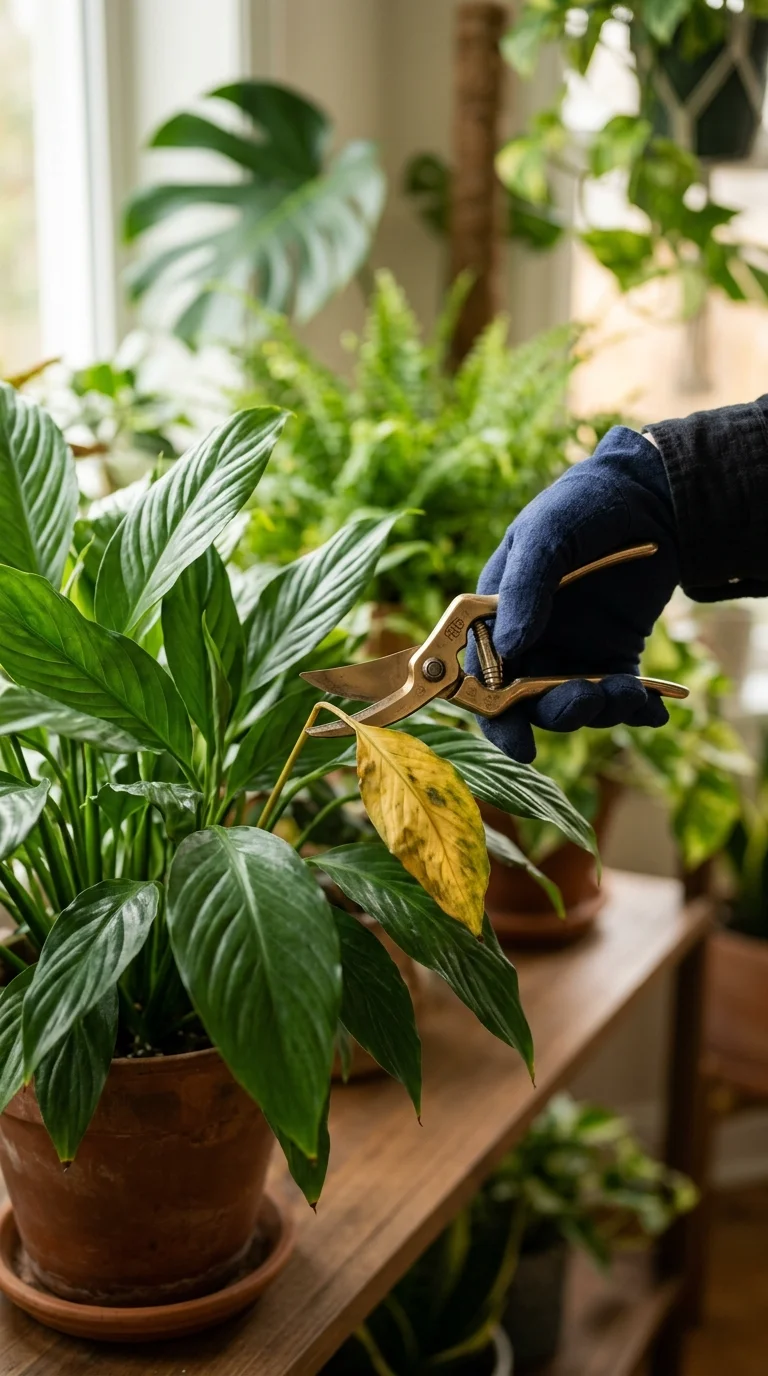
Do not be afraid to snip off yellow, brown, or dead leaves with clean shears. Once a leaf has turned yellow, it cannot turn green again, and it drains the plant’s energy. Removing these old leaves helps the plant focus its strength on growing fresh, new leaves. It also keeps your plants looking tidy and beautiful.
By making these six steps a habit, you will learn to understand your plants’ unique languages. You will start to notice when a leaf is drooping just a tiny bit, or when a new leaf is about to unfurl. This connection is what makes gardening such a rewarding and peaceful hobby.
Quick Plant Rescue Tips for Pests and Sudden Leaf Drop
Sometimes, despite your very best efforts, a plant crisis will happen. You might walk into your living room and find a pile of dropped leaves on the floor. Or you might notice a sudden infestation of tiny, creepy bugs crawling on your favorite fern. Do not worry, because a quick plant rescue plan can save the day!
One of the most common surprises is sudden leaf drop, especially with Ficus trees. These plants are famous for being sensitive to any changes in their environment. If you move them to a new room, or if they sit near a cold draft, they may drop their leaves in protest. In most cases, the best thing you can do is leave the plant in one spot and let it adjust.
Common Pest Guide:
- Fungus Gnats: Tiny black flies buzzing near the soil. Love wet dirt.
- Spider Mites: Very tiny red or brown spots with fine webbing under leaves.
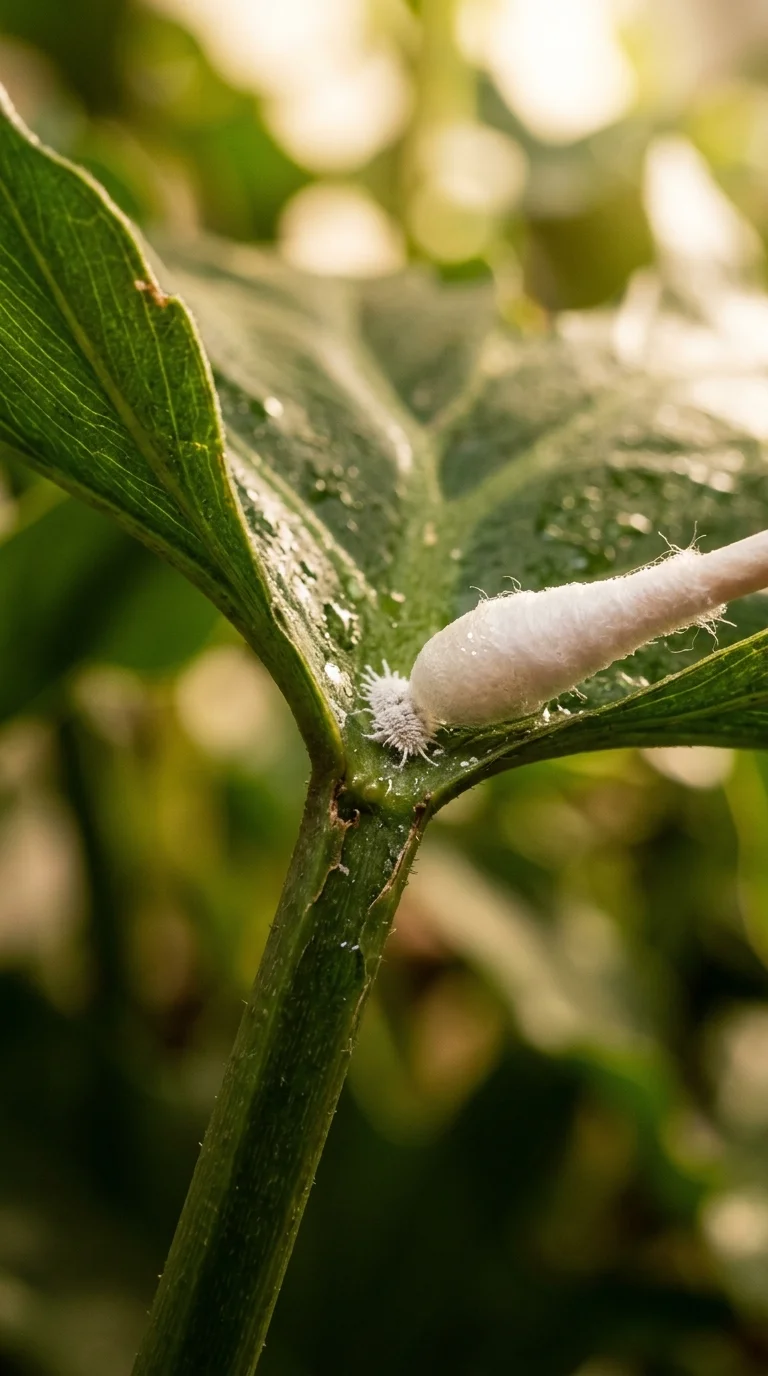
- Mealybugs: Soft, white, cottony-looking bugs in leaf joints.
- Scale: Hard, brown, wax-like bumps on stems and leaves.
If you spot fungus gnats, you are likely keeping the soil a bit too wet. These tiny black flies lay their eggs in the top inch of damp potting soil. The larvae feed on organic matter and can damage tiny root hairs. To rescue your plant, let the soil dry out as much as possible between waterings.
You can also place yellow sticky traps near the soil to catch the flying adults. Sprinkling a product containing natural soil bacteria, like Mosquito Bits, on the soil helps kill larvae. This bacteria is completely safe for pets and humans but works wonders on gnat larvae. Adding a thin layer of sand on top of the soil can also stop gnats from laying eggs.
For pests like mealybugs or scale, you can use a cotton swab dipped in rubbing alcohol. Touch the swab directly to the bugs to kill them instantly without hurting the plant. For larger infestations, you can spray the entire plant with insecticidal soap or neem oil. Neem oil is a natural oil from the neem tree that stops bugs from feeding and growing.
Always isolate a sick or pest-infested plant from the rest of your collection. Pests can crawl from pot to pot very quickly, turning one small problem into a big one. Keep the sick plant in a separate room until you are sure all the bugs are gone. Wash your hands and your pruning tools after working on a sick plant to avoid spreading pests.
If your plant gets sunburned, you will see pale, bleached, or dry brown patches on the leaves. This happens when a shade-loving plant is placed in hot, direct sunlight. Move the plant to a spot with soft, indirect light immediately. The burned leaves will not heal, but new leaves will grow to replace them over time.
Remember that recovery takes time, so do not expect your plant to look perfect overnight. It can take several weeks for a rescued plant to start showing signs of new growth. Keep providing gentle, consistent care, and celebrate every new green leaf that appears.
Strategic Garden Layout & Spacing Canvas
When we think about plant health, we also have to look at how we lay out our growing spaces. Whether you grow indoors in containers or outdoors in garden beds, spacing is key. A crowded garden bed or windowsill prevents air from moving freely between plants. This lack of fresh air creates a damp environment where fungal diseases love to grow.
Using a keyhole garden layout is a wonderful way to maximize your growing space while keeping plants healthy. Keyhole gardens use permaculture principles, which means working with nature instead of against it. This layout features a circular or rectangular bed with a small walkway to the center. At the center sits a composting basket that slowly feeds nutrients to the surrounding soil.
Keyhole Garden Layout Diagram:
+-------------------------------------------------+
|               Lush Growing Area                 |
|   +-----------------------------------------+   |
|   |         Gravel Keyhole Access Path      |   |
|   |         (Dead End Composting Access)    | [ ] Composting Basket
|   +-----------------------------------------+   |
|               Lush Growing Area                 |
+-------------------------------------------------+
Dimensions: 8ft Wide x 6ft Long
Path Width: 2ft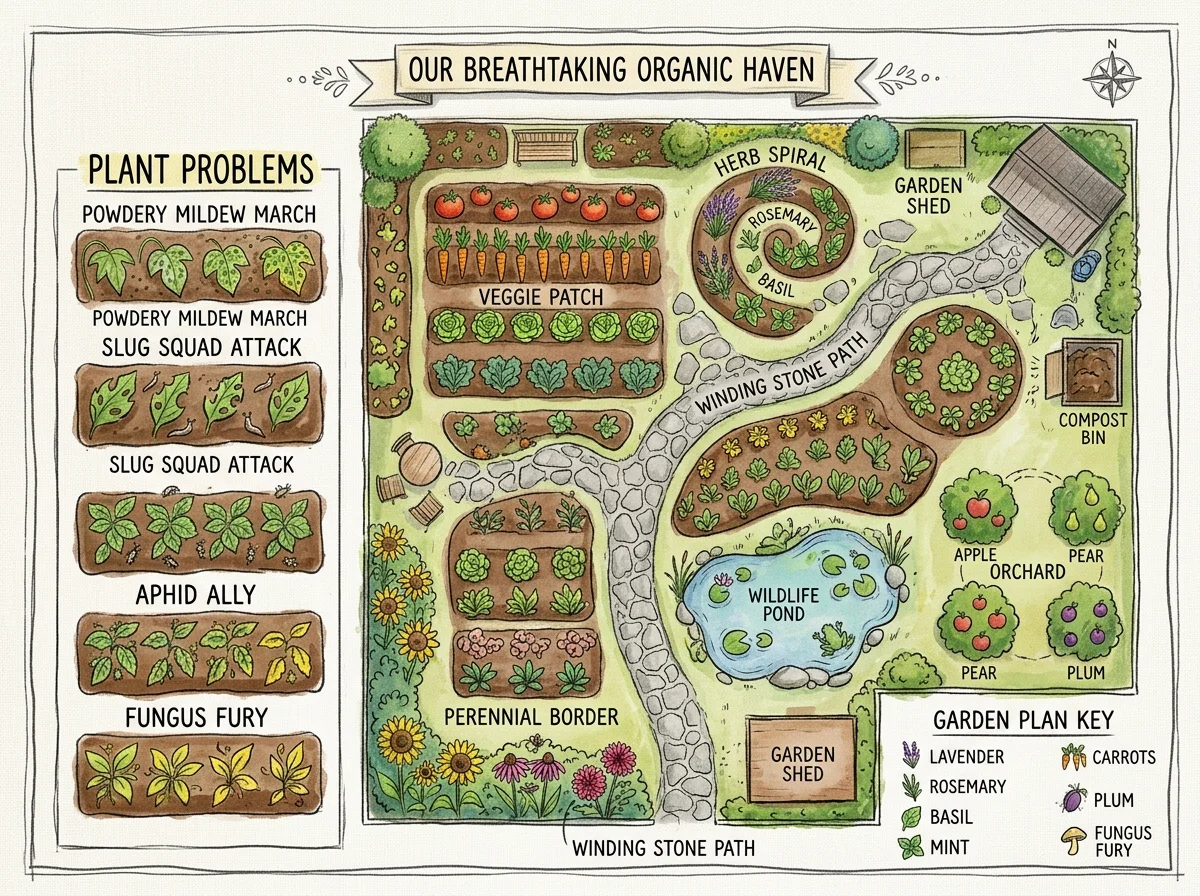
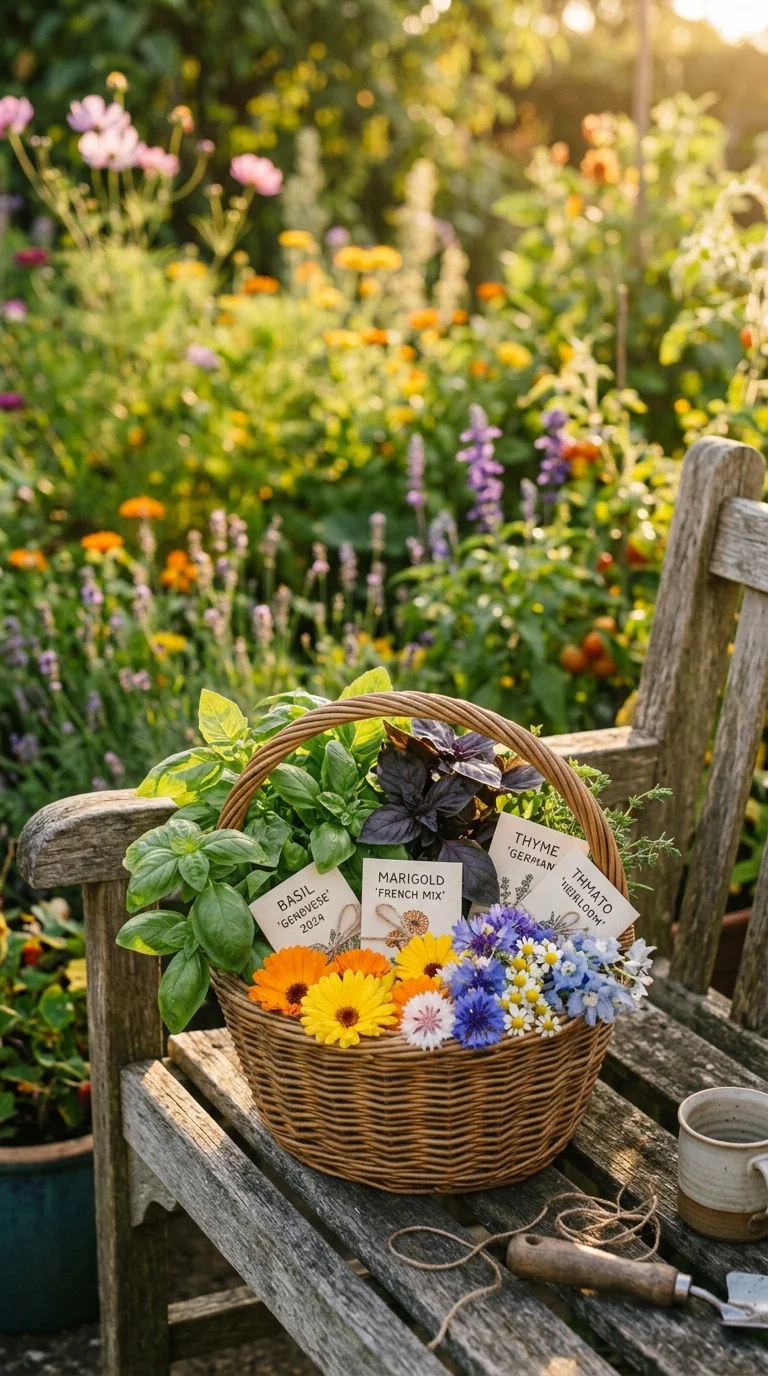
Companion planting tip: Plant your tomatoes near aromatic basil and golden marigolds to deter pests naturally and enhance yields!
Nutrient Optimization & Organic Feeding Guide
To keep your plants strong enough to fight off pests and diseases, they need proper nutrition. Think of soil as a living, breathing ecosystem rather than just dirt. This ecosystem is often called the soil food web, and it is full of tiny, helpful organisms. These microbes, fungi, and earthworms work together to break down organic matter into food for your plants.
+-----------------------------------------------------------------+
|                     ORGANIC SOIL AMENDMENTS                     |
+-----------------------------------------------------------------+
|  Worm Castings:      Nature's black gold. Rich in nutrients.     |
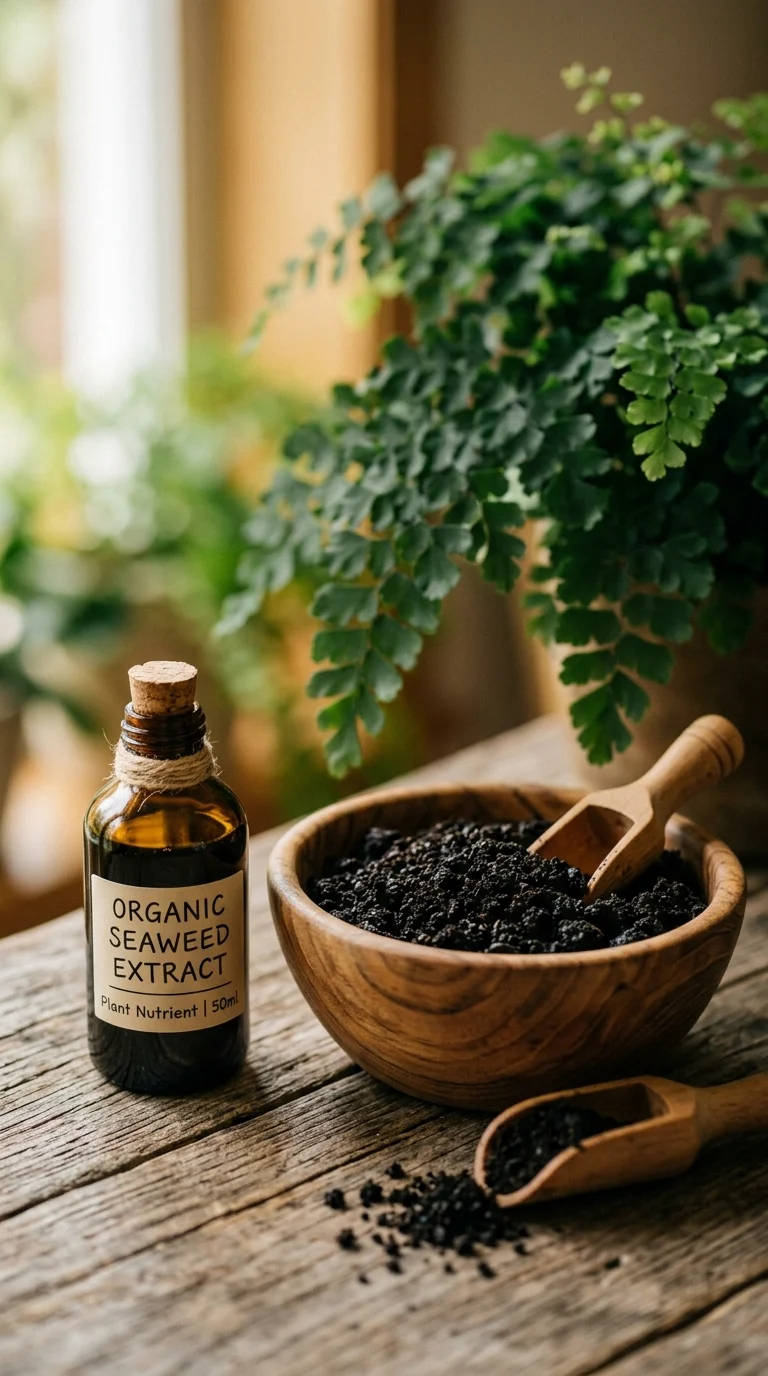
|  Seaweed Extract:    A gentle vitamin boost for strong roots.   |
|  Compost:            Improves soil structure and feeds microbes. |
+-----------------------------------------------------------------+
Using chemical fertilizers can sometimes do more harm than good for indoor plants. These synthetic feeds contain high amounts of salts that can build up in the soil over time. This salt buildup can burn sensitive roots, leading to brown leaf tips and dry edges. Organic fertilizers feed the soil slowly and gently, creating a much safer environment.
Worm castings, which are simply worm poop, are one of the best organic fertilizers you can use. They are packed with beneficial microbes and nutrients that are easy for plants to absorb. You can mix a handful of worm castings into your potting soil when repotting. You can also sprinkle them on top of the soil of your existing plants once a year.
Liquid seaweed extract is another wonderful organic option for a quick health boost. It acts like a multivitamin, providing trace minerals that help plants handle stress and heat. Simply dilute a few drops of seaweed extract in your watering can during the spring and summer. Your plants will reward you with stronger stems and deep green, glossy leaves.
Homemade compost is also fantastic for outdoor plants and container gardens. Composting recycles your kitchen scraps and yard waste into rich, dark soil. Adding compost to your garden beds improves the soil’s ability to hold onto water and nutrients. It also encourages earthworms to move in, which naturally aerates the soil as they tunnel.
Remember that less is always more when it comes to feeding your plants. It is much easier to fix a plant that is slightly hungry than one that has been over-fertilized. Always read the package instructions and use a weaker strength than recommended to be safe. Your plants will grow at a natural, steady pace that keeps them strong and resilient.
Ultimate Harvesting & Seasonal Blooms Rewards
The ultimate reward for all your hard work is watching your plants thrive and bloom. There is nothing quite like the feeling of picking fresh herbs from your windowsill. Or seeing a plant you rescued from the clearance rack produce a beautiful, vibrant flower. These moments of success make all the watering, dusting, and pest-fighting totally worth it.
To get the best flavor from your indoor herbs, harvest them in the morning. This is when the essential oils, which give herbs their smell and taste, are strongest. Always use sharp, clean scissors to snip the stems just above a leaf node. This encourages the plant to branch out and grow even bushier, giving you more harvests later.
Harvesting Best Practices:
- Harvest in the morning for the best flavor and scent.
- Never remove more than one-third of the plant at one time.
- Cut just above a leaf node to encourage bushy new growth.
If you are growing flowering houseplants like African violets, remove old blooms regularly. This process, called deadheading, stops the plant from wasting energy on making seeds. Instead, the plant will redirect its energy into creating a fresh flush of beautiful blossoms. It also keeps the plant looking clean and prevents mold from growing on old, damp petals.
Saving seeds is another wonderful way to connect with the life cycle of your plants. Let a few of your favorite flowers dry out completely on the plant at the end of the season. Collect the dry seeds and store them in a cool, dark paper envelope for next spring. Sharing these seeds with your neighbors is a beautiful way to spread the joy of gardening.
As you spend more time with your plants, you will find that gardening is a journey of learning. Every yellow leaf is not a failure; it is just a lesson that helps you become a better gardener. Take a moment to sit back, relax, and enjoy the lush, green oasis you have created in your home. You have worked hard to build this beautiful space, and you deserve to enjoy every single leaf.
Frequently Asked Questions
Q: Why are my plant’s leaves turning yellow?
A: Yellow leaves can happen for several reasons, but overwatering is often the main cause. If the lower leaves are turning yellow and mushy, the soil is likely too wet. If the top leaves are yellow and the soil is dry, the plant might need a good drink.
Q: How do I know if I am overwatering my plants?
A: In most cases, you can tell by checking the soil moisture with your finger. If the soil stays wet for more than a week, or if you notice mold on top, you are likely watering too much. Overwatered plants may also drop green leaves or have mushy stems.
Q: What are these tiny black flies buzzing around my soil?
A: These are likely fungus gnats, which love wet soil. They are not harmful to humans, but their larvae can feed on young plant roots. Let your soil dry out more between waterings to help get rid of them.
Q: Can I save a plant that has lost all its leaves?
A: Yes, in many cases you can! Use your fingernail to gently scratch the main stem to see if it is still green inside. If it is green, keep the plant in a bright spot and water it very sparingly until new leaves start to grow.
Q: Why is there a sticky film on my plant’s leaves?
A: A sticky residue is usually a sign of pests like aphids, mealybugs, or scale. These insects drink the plant’s sap and leave behind a sticky substance called honeydew. Wipe the leaves with insecticidal soap or neem oil to treat the problem.
Q: How often should I fertilize my indoor plants?
A: Many gardeners find that feeding plants once a month during the spring and summer is plenty. Avoid fertilizing in the winter when plants are resting and not growing. Always use a gentle, organic fertilizer to prevent root burn.