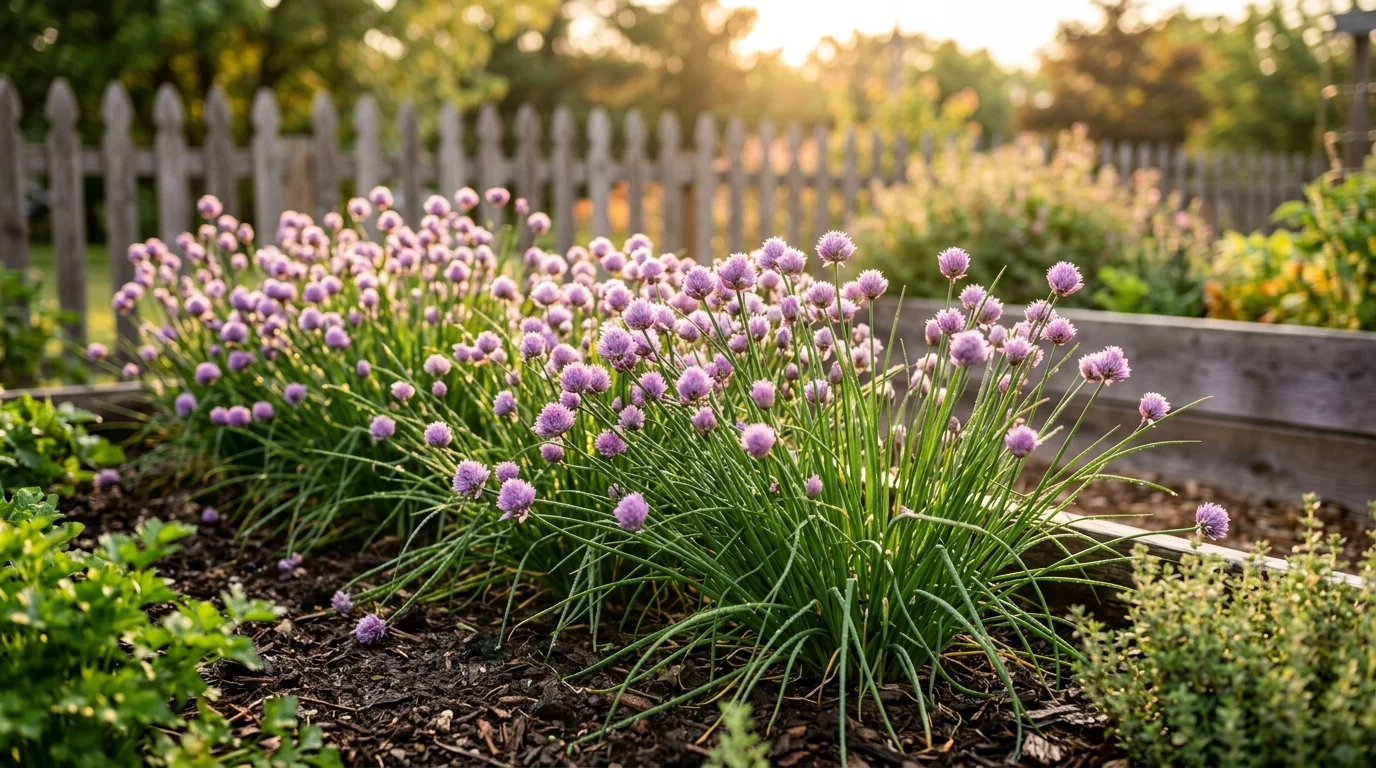
If you have ever felt like your gardening efforts just aren’t bearing fruit, you are not alone. Many new gardeners struggle to find that one “sure thing” plant, and learning how to grow chives from seed is the perfect way to build your confidence while filling your kitchen with fresh flavor.
Quick Answer: You can easily learn how to grow chives from seed by sowing them in moist, well-draining soil during the spring or fall. With plenty of sunlight and consistent moisture, these hardy perennial herbs will provide you with a bountiful harvest for many years to come.
Growing Chives in Pots for Your Kitchen Garden
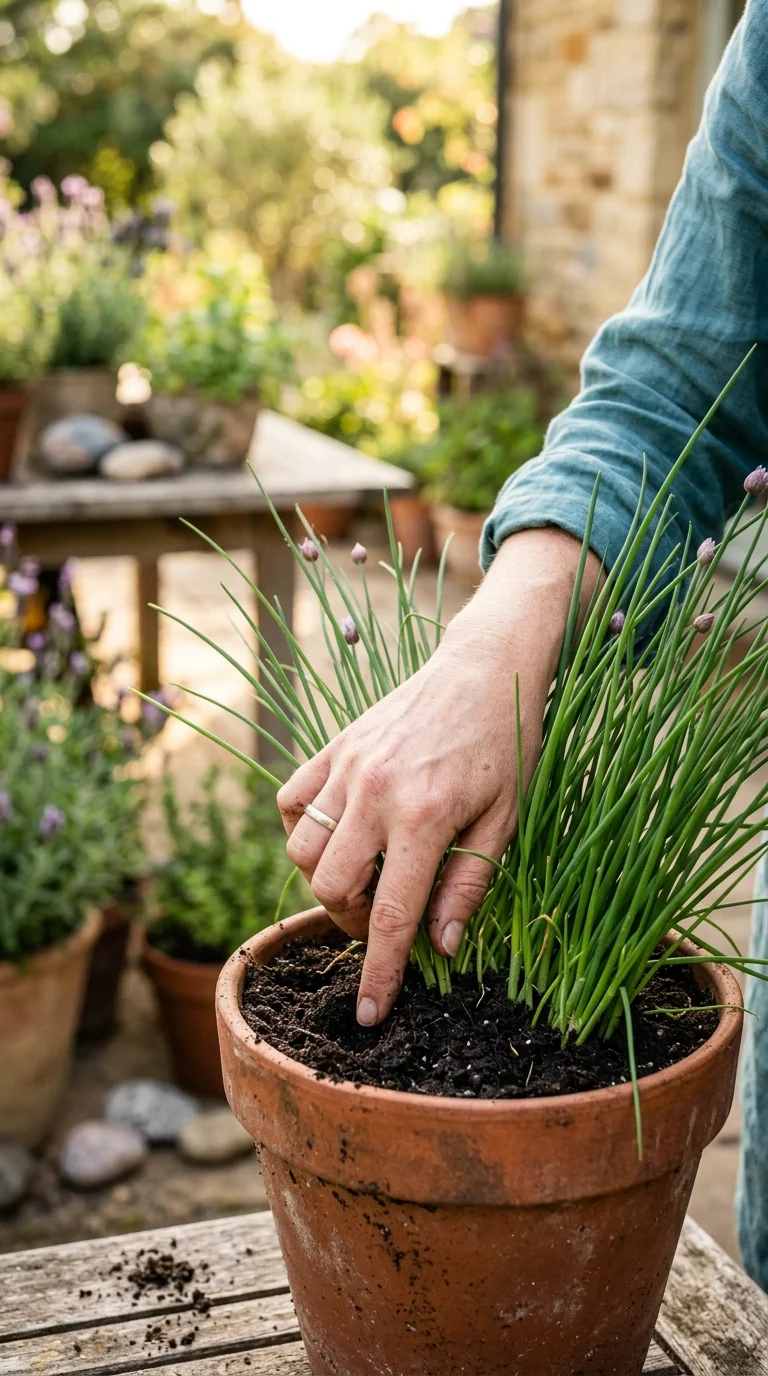
One of the best things about gardening is that you do not need a massive backyard to get started. Growing chives in pots is a fantastic way to bring the joy of fresh herbs right to your doorstep, balcony, or even a sunny kitchen windowsill. Because chives have relatively shallow root systems, they are perfectly suited for containers, making them a “set it and forget it” kind of plant for busy gardeners.
When you start growing chives in pots, you have total control over the environment. You can ensure the soil is loose and drains well, which prevents the roots from sitting in soggy, wet conditions that herbs generally dislike. I always recommend using a high-quality potting mix combined with a little bit of compost to give your seeds the nutrients they need to get a strong, healthy start.
For the best results, pick a container that is at least six inches deep. This provides enough room for the chive bulbs to expand as the plant matures over the seasons. Always make sure your pot has drainage holes at the bottom; if water cannot escape, the roots may rot, which is a common mistake that can set back your gardening progress.
Place your pots in a location that receives plenty of natural light. If you are keeping them indoors, a south-facing window is usually ideal. If you notice your chives starting to look “leggy” or reaching aggressively toward the light, they might need a bit more sunshine. In most cases, rotating the pot every few days will help the plant grow straight and strong, ensuring you get a nice, even harvest of those delicious green leaves.
Because containers dry out faster than the ground, you will want to check your soil moisture more often. I like to stick my finger about two inches into the soil; if it feels dry, it is time for a drink. This simple habit keeps your plants happy and productive throughout the growing season. Many gardeners find that growing chives in pots is the perfect entry point into the world of urban or small-space gardening.
Chive Plant Care Guide for Healthy Growth
Once your chives have sprouted and are settling into their new home, you will find they are incredibly low-maintenance. Following a proper chive plant care guide is mostly about consistency rather than constant work. These plants are tough, cold-hardy perennials, meaning they will often survive the winter and return to greet you again the following spring.
To keep your plants thriving, focus on these core areas of care:
- Sunlight Requirements: Chives love the sun. Aim for at least six hours of direct sunlight every day. While they can survive in partial shade, they grow much slower and are less likely to produce those beautiful, edible blossoms if they are kept in the dark for too long.
- Watering Habits: Consistency is the secret to success. Try to keep the soil evenly moist but not waterlogged. If you have a particularly hot, dry spell, pay extra attention to your potted chives, as they will lose moisture much faster than those planted in the garden soil.
- Soil and Nutrition: Chives are not very demanding. A simple dose of organic compost or a light sprinkle of worm castings once every few months is usually enough to keep them green and growing. If you start with a good, rich potting mix, you likely won’t need to fertilize them at all.
- Pest Management: One of the reasons I love chives is that they are natural “pest interrupters.” Their strong scent acts as a deterrent for many common garden pests like aphids or Japanese beetles. By planting them near your more delicate veggies, you are essentially building a natural shield for your garden.
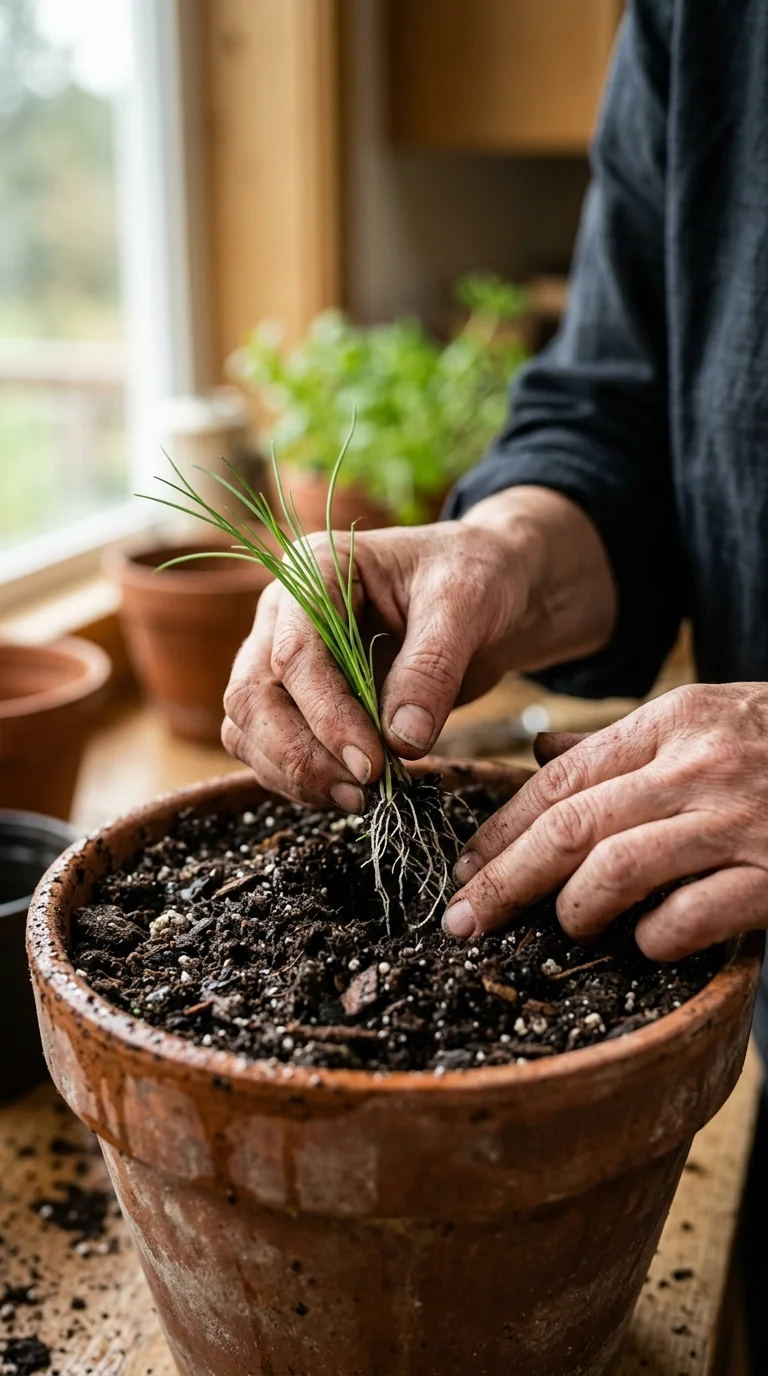
Another key part of this chive plant care guide is knowing when to divide your plants. After a few years, a single chive plant can become quite crowded. If you notice the center of the clump looking a bit thin or the growth slowing down, it is likely time to divide them. Simply dig up the clump, gently pull it apart into smaller sections, and replant them in fresh soil. It is a wonderful way to multiply your harvest for free!
Finally, keep an eye on the weather. While chives are tough, they do prefer the cooler temperatures of spring and fall. If you live in a place with extremely hot summers, you might see them go dormant or slow down significantly when the temperature peaks. Don’t worry—this is usually just the plant taking a nap, and it will likely bounce back as soon as the air cools down again.
Harvesting Chives for Cooking with Ease
There is nothing quite like the feeling of walking out to your garden and snipping a few fresh herbs for dinner. Harvesting chives for cooking is a simple process that actually encourages the plant to grow back thicker and healthier. If you treat your chives like a “cut-and-come-again” herb, you can enjoy a steady supply of fresh greens from spring until the first heavy frost.
Follow these simple steps to ensure you are harvesting correctly:
- Wait for Maturity: If you started from seed, wait about 60 days before your first big harvest. If you bought a starter plant, give it two or three weeks to adjust to its new home before you start taking clippings.
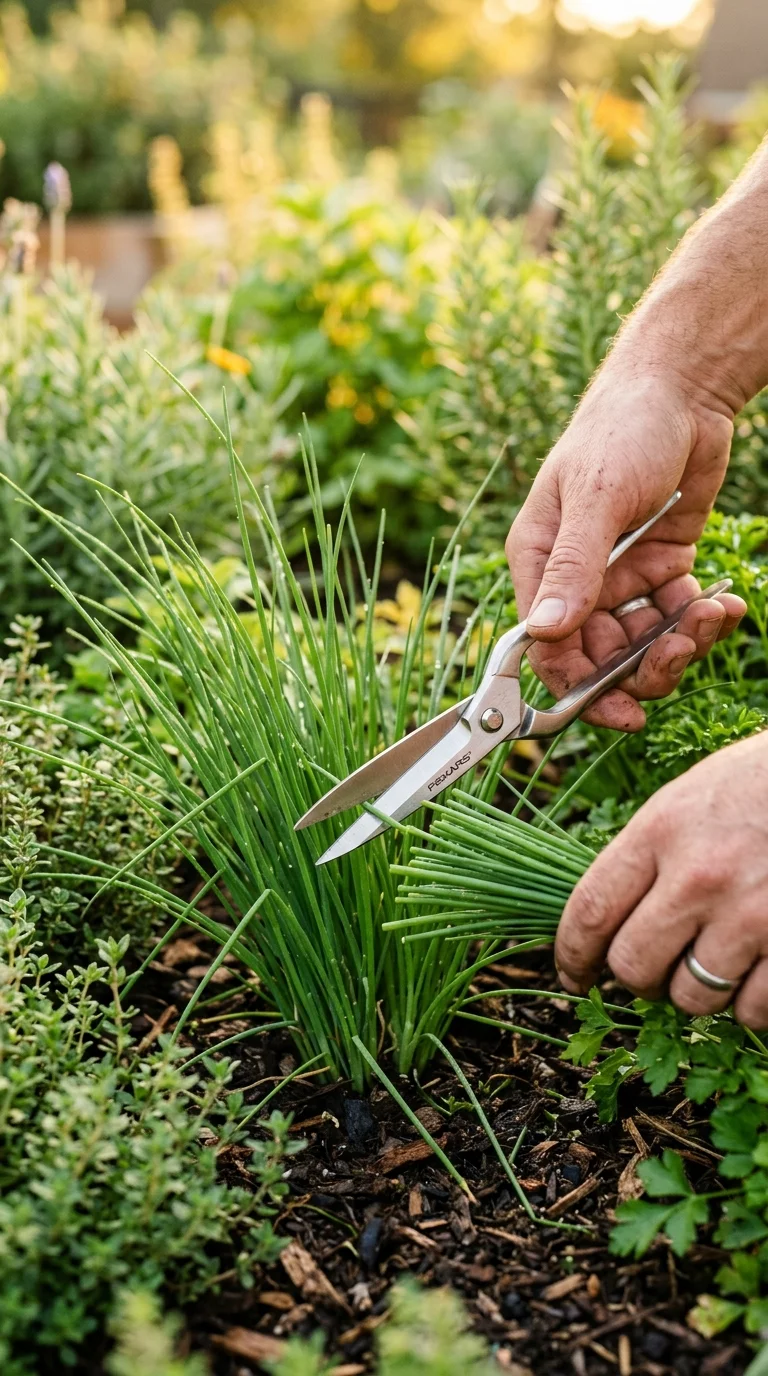
- Use the Right Tools: Always use a pair of clean, sharp kitchen scissors or garden snips. Clean tools prevent the spread of diseases and ensure a clean cut that doesn’t crush the stems.
- The “Ponytail” Method: Gather a small bunch of chives together, just like you are holding a ponytail of hair. This allows you to harvest a good amount at once while keeping your cuts organized.
- Cut at the Base: Snip the stems about one to two inches above the soil line. It is tempting to cut only the tips, but the new growth actually comes from the center of the plant. Cutting low helps the plant stay vigorous and productive.
- Rotate Your Harvest: If you have multiple plants, try to rotate which one you harvest from each week. This gives each plant plenty of time to recover and push up new green shoots.
- Harvesting Blossoms: If you want the flowers, cut them at the base of the stem just as they open. The blossoms are edible and make a beautiful, flavorful addition to salads. If you don’t plan to use the flowers, snip them off before they turn brown and drop seeds, which keeps the plant focused on leaf production.
Remember that harvesting is a form of pruning. By removing the older, tougher leaves, you are signaling the plant to put its energy into creating fresh, tender new growth. Many gardeners find that their chives actually look better after a good trim! Once you have your harvest, give the stems a quick rinse and they are ready to be chopped for your favorite recipes.
Creative Uses for Fresh Chives in Your Kitchen
Now that you have a basket full of fresh herbs, it is time to talk about the many uses for fresh chives. Because they have such a mild, pleasant onion flavor, they are incredibly versatile. One common mistake beginners make is only using them as a garnish; while they look beautiful on top of a baked potato, they can do so much more for your cooking.
Try mixing chopped chives into softened butter with a pinch of sea salt. This “chive butter” is incredible when melted over a seared steak, grilled fish, or even just spread on a slice of warm, crusty bread. It is an easy way to elevate a simple meal into something that feels like it came from a professional kitchen.
If you enjoy salads, don’t forget about the blossoms! The purple flowers of the common onion chive are not just for show; they have a delicate, slightly spicy flavor that adds a wonderful crunch and color to any salad. You can also infuse white vinegar with chive blossoms to create a bright, floral-scented dressing that will impress your dinner guests.
Another one of my favorite uses for fresh chives is incorporating them into egg dishes. Whether you are making a fluffy omelet, scrambled eggs, or a savory quiche, the mild onion notes of the chives cut through the richness of the eggs perfectly. I find that adding them at the very end of the cooking process preserves their color and freshness.
If you find yourself with more chives than you can use in a week, don’t let them go to waste. You can store them in the refrigerator by wrapping them in a damp paper towel and placing them in a sealed container or jar. They will usually stay fresh for several days this way. For longer storage, you can chop them up and freeze them in a small baggie. While they lose their crisp texture in the freezer, they retain all of their wonderful flavor, making them perfect for soups, stews, and casseroles throughout the winter months.
Gardening is about enjoying the fruits—or in this case, the herbs—of your labor. Whether you are adding them to a complex recipe or just sprinkling them over a bowl of soup, the process of growing, harvesting, and eating your own chives is a rewarding experience. It connects you to your food in a way that store-bought bunches just can’t match.
Frequently Asked Questions
Q: How long does it take for chives to sprout from seed?
A: In most cases, chives take about two to three weeks to germinate. Be patient and keep the soil consistently moist during this time, as they can be a bit slow to get going compared to other garden herbs.
Q: Can I grow chives indoors all year round?
A: Yes, you can! As long as you have a sunny, south-facing window or a good set of grow lights, your chives will be happy to live indoors. Just remember to keep them away from cold drafts and monitor the soil moisture closely.
Q: Why are my chives turning yellow?
A: Yellowing leaves are often a sign of overwatering or poor drainage. Check to make sure your pot has good drainage holes and that you are only watering when the top two inches of soil feel dry.
Q: Should I let my chives flower?
A: It is entirely up to you! The flowers are beautiful and attract pollinators to your garden, but they can take energy away from leaf production. If you want more leaves for cooking, feel free to snip the flower buds off as they appear.
Q: Do chives need a lot of fertilizer?
A: Generally, no. Chives are quite hardy and don’t need much. A little bit of compost or worm castings once a quarter is usually plenty to keep them happy and productive.
Q: Are garlic chives and onion chives the same thing?
A: They are closely related but have different flavors and appearances. Onion chives have thin, hollow leaves and a mild onion flavor, while garlic chives have flat, solid leaves and a distinct garlic taste.